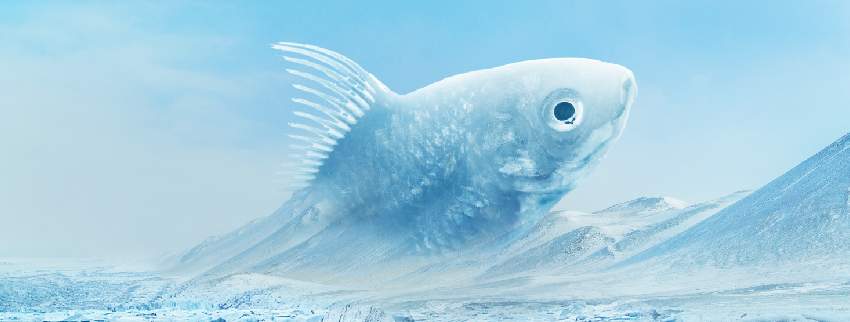
Photoshop�ϳɱ�����Ч�Ľ��~������Ӣ��(3)
����Դ�� Tutsplus.com�����x���� Jenny Le �o�҂����������ʵ����£�Step 4
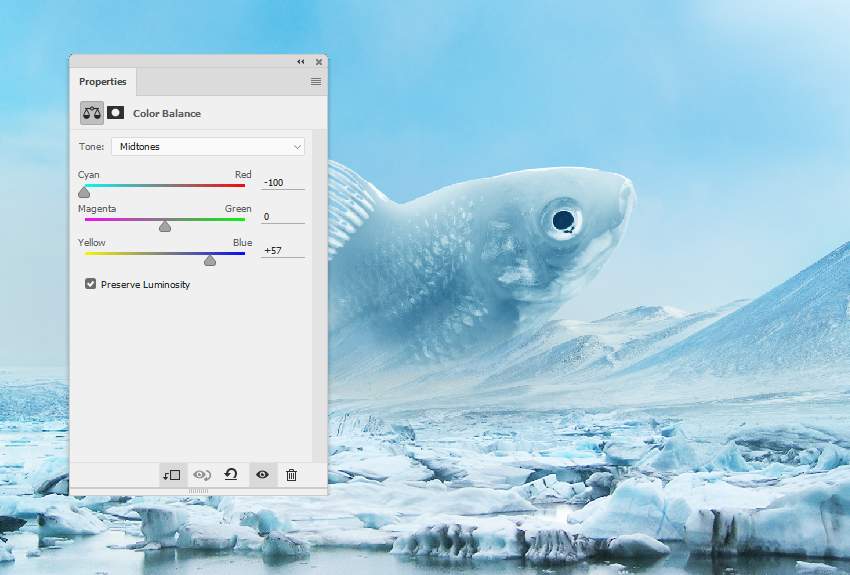
Create a Color Balance adjustment layer to make the fish's color fit the background.
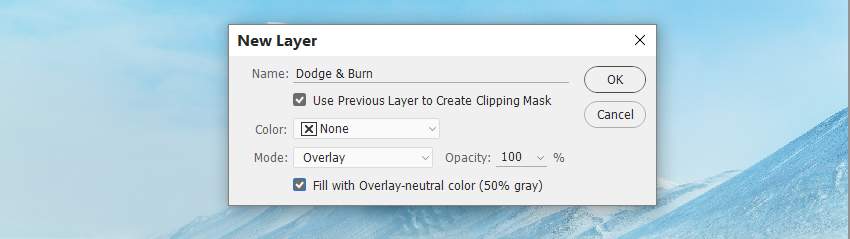
Step 5
Make a new layer, change the mode to Overlay 100%, and fill with 50% gray.
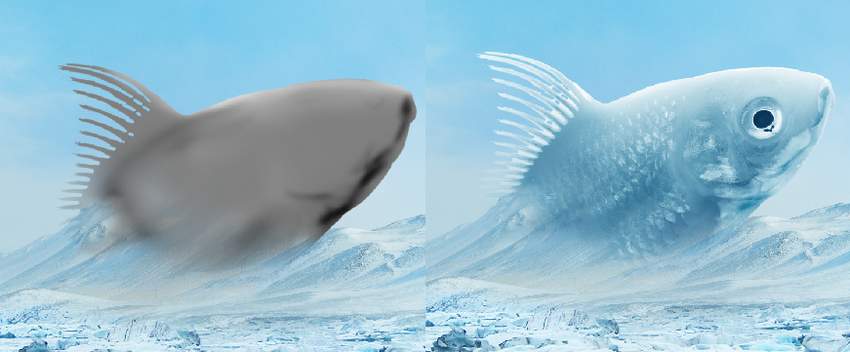
Activate the Dodge and Burn Tool (O) with Midtones Range, Exposure about 10-20% to refine some light and shadow on the fish. You can see how I did it with Normal mode and the result with Overlay mode.
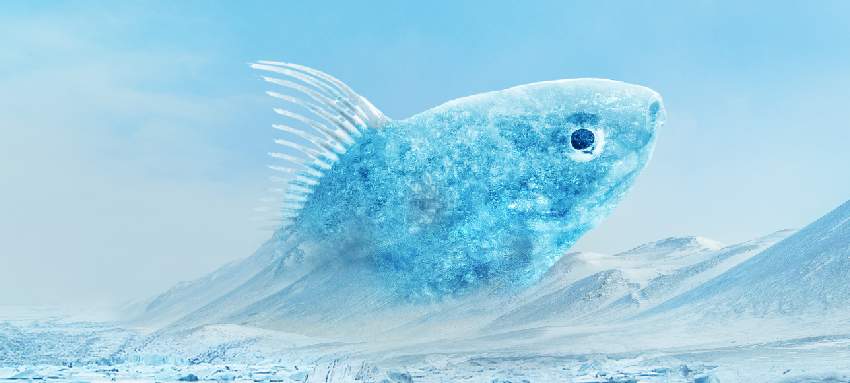
3. How to Make the Frozen Effect
Step 1
Place ice texture 1 over the fish and change this layer mode to Soft Light 100%.
Use a layer mask to remove the part outside the fish.
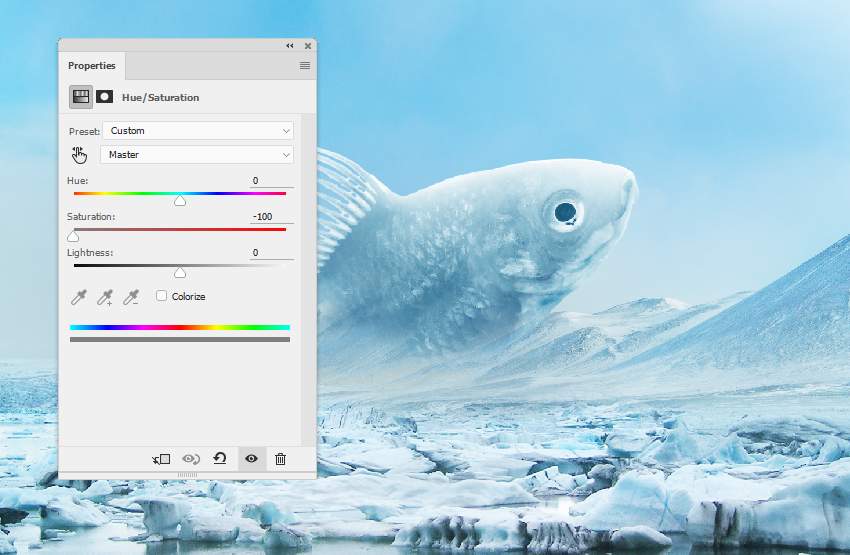
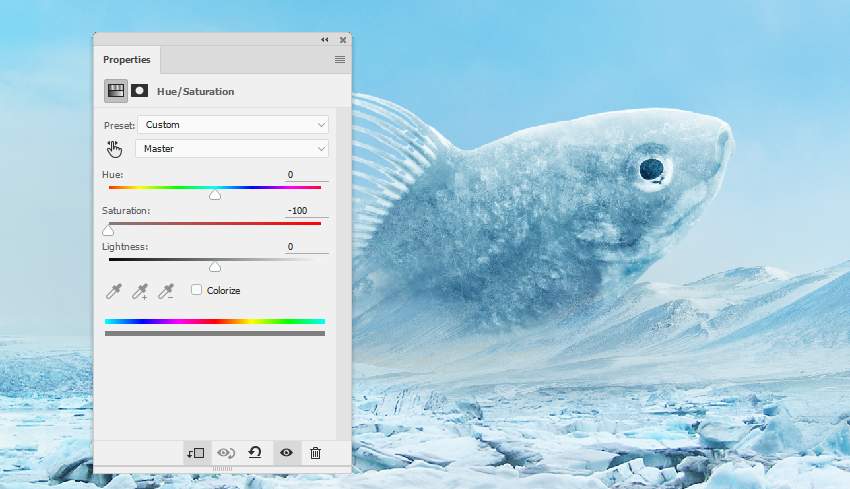
Step 2
Add a Hue/Saturation adjustment layer to desaturate the effect's color.
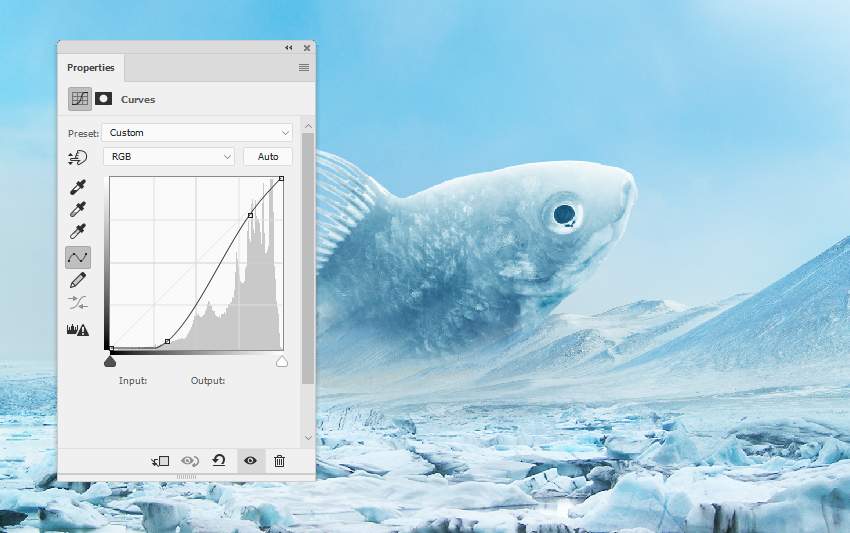
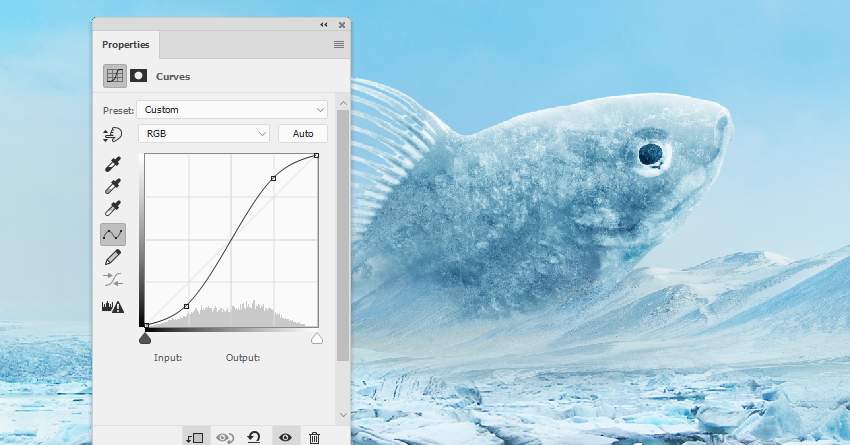
Step 3
Use a Curves adjustment layer to increase the contrast of the effect.
Step 4
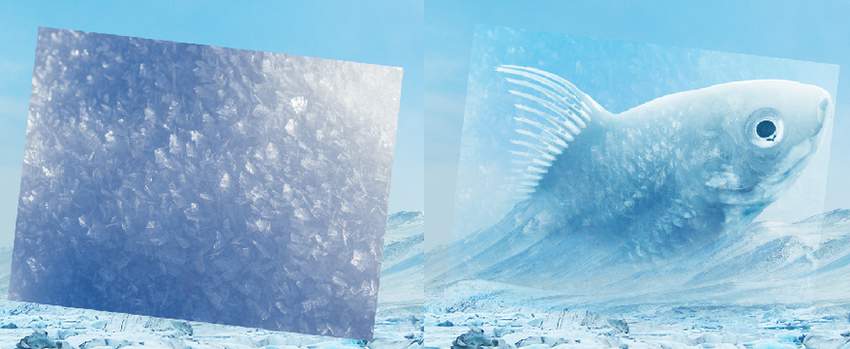
Add ice texture 2 using the same method.
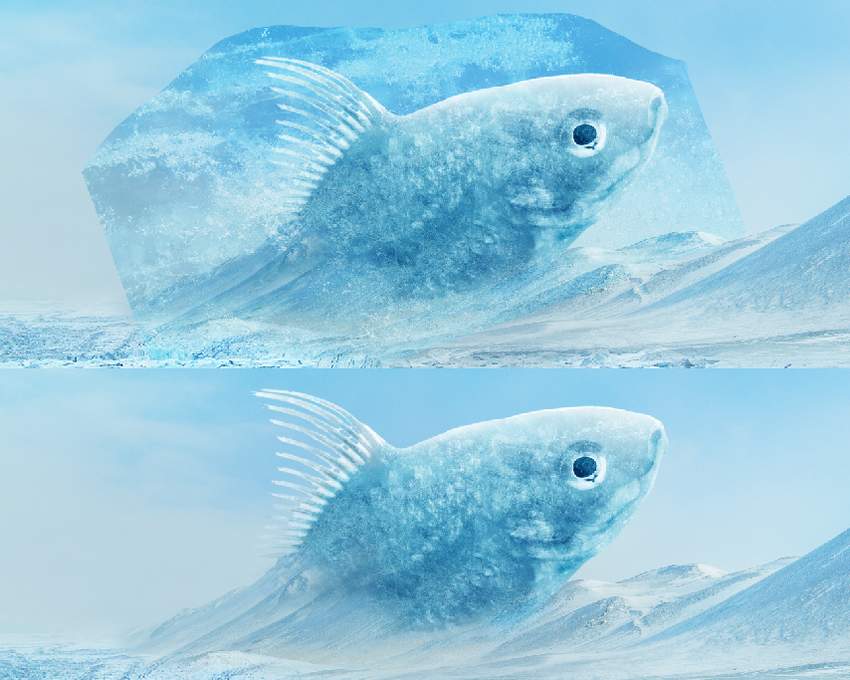
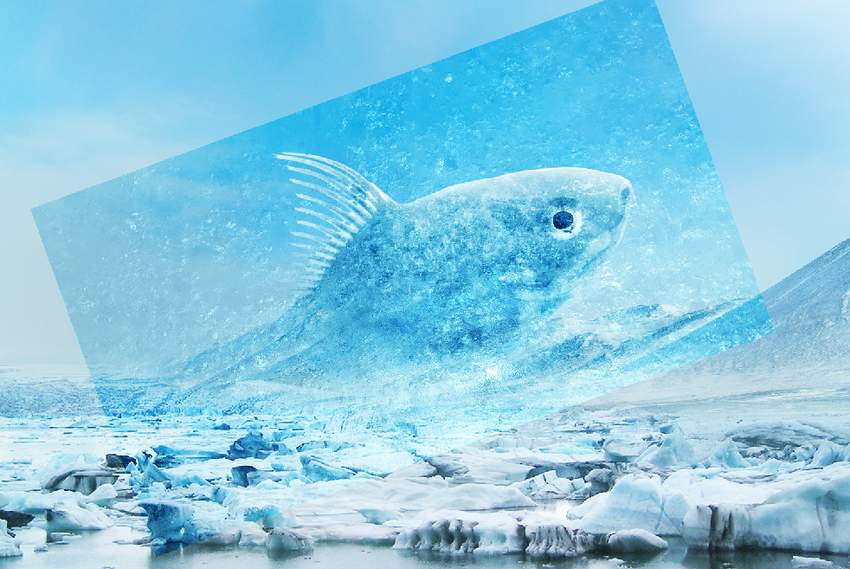
Step 5
Place ice texture 3 onto the fish and change the mode to Overlay 100%. Apply a layer mask to clean any unwanted parts outside the fish.
 ��ǵ���
-
 Photoshop�������L�������ƬЧ����Ӣ��2018-04-23
-
 Photoshop�ϳ��L����������L�i¹��Ӣ��2018-04-23
-
 Photoshop�ϳɱ�����Ч�Ľ��~������Ӣ��2018-02-10
-
 Photoshop�ϳɉ����L���ɭ�ֈ�����Ӣ��2018-02-10
-
 Photoshop�ϳ�����ʩ��������Ӣ��2018-02-10
-
 Photoshop���������|�е�3D���w�֡�Ӣ��2018-01-09
-
 Photoshop�OӋ����ȼ��ˇ�g�ֽ̡̳�Ӣ��2018-01-09
-
Photoshop�ϳ��L����������L�i¹��Ӣ��
���P����13832018-04-23
-
Photoshop�ϳɉ����L���ɭ�ֈ�����Ӣ��
���P����24492018-02-10
-
Photoshop�ϳ�����ʩ��������Ӣ��
���P����8372018-02-10
-
 Photoshop�ϳɽk�����а�������ӡ�Ӣ��
���P����7412018-01-05
Photoshop�ϳɽk�����а�������ӡ�Ӣ��
���P����7412018-01-05
-
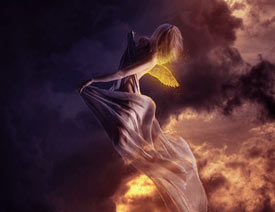
 Photoshop�ϳɿֲ���Ч���fʥ������Ӣ��
���P����6702018-01-05
Photoshop�ϳɿֲ���Ч���fʥ������Ӣ��
���P����6702018-01-05
-
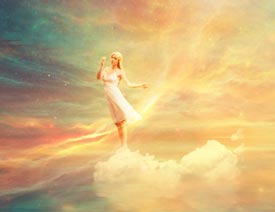
 Photoshop�ϳɱ�������ס��Ů����Ӣ��
���P����7152018-01-05
Photoshop�ϳɱ�������ס��Ů����Ӣ��
���P����7152018-01-05
-
 Photoshop�ϳ���������w�е���ʹ��Ӣ��
���P����4622017-12-25
Photoshop�ϳ���������w�е���ʹ��Ӣ��
���P����4622017-12-25
-
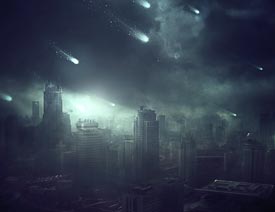 Photoshop�ϳɳ��б����ǹ��������Ӣ��
���P����7142017-12-12
Photoshop�ϳɳ��б����ǹ��������Ӣ��
���P����7142017-12-12
