Photoshop�ϳɱ�����Ч�Ľ��~(y��)��(ch��ng)����Ӣ��(2)
����(l��i)Դ�� Tutsplus.com�����x���� Jenny Le �o�҂�����(l��i)��(j��ng)���ʵ����£�Step 6
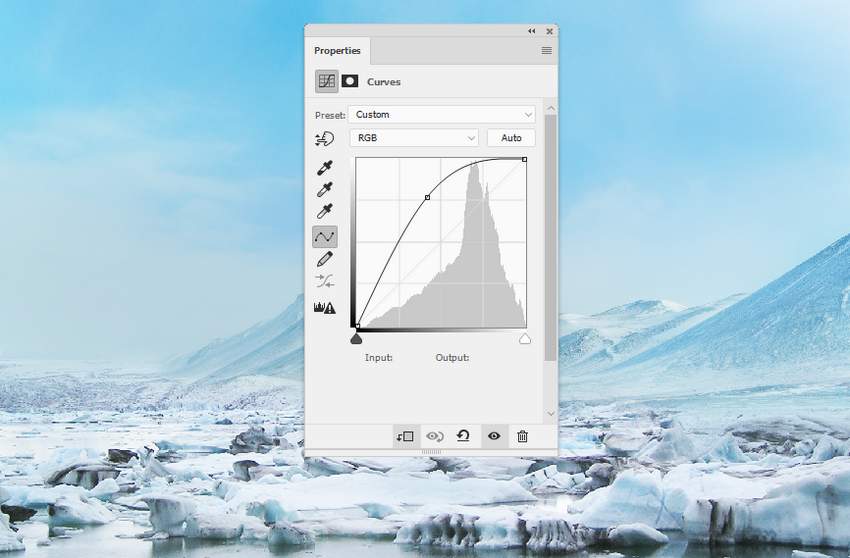
Make a Curves adjustment layer and set it as Clipping Mask. Increase the lightness a lot, and on the layer mask, use a small medium-soft black brush to paint on the ice part near the foreground to show some details and textures.
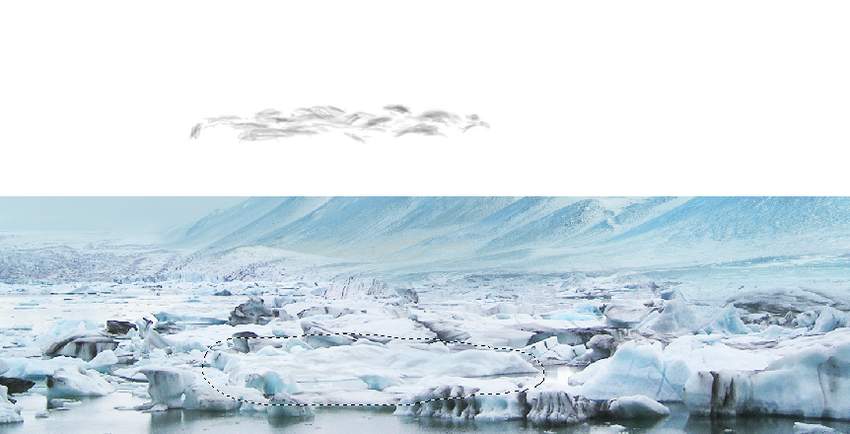
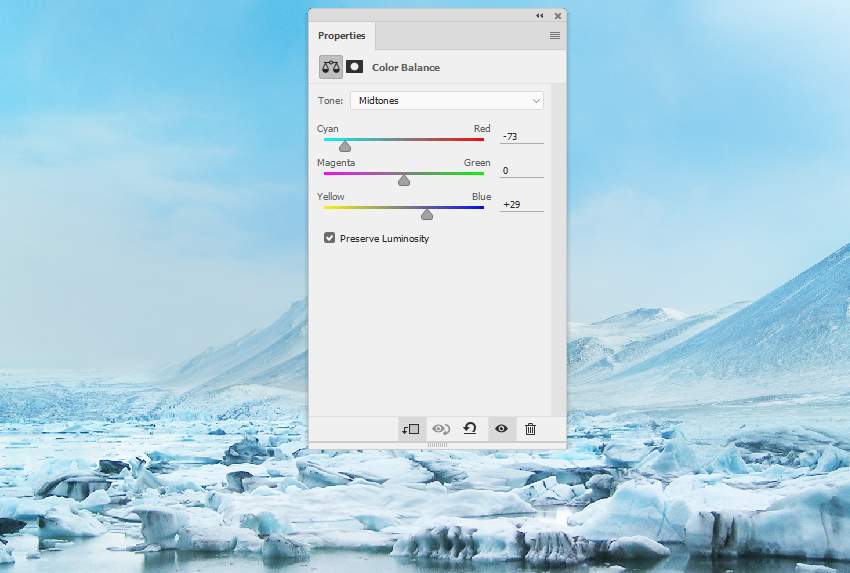
Step 7
Create a Color Balance adjustment layer and change the Midtones settings:
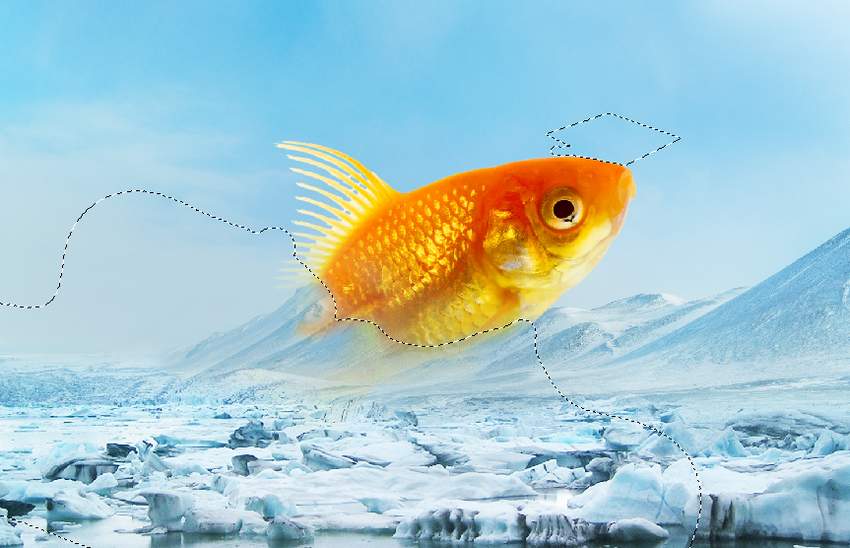
2. How to Add the Fish
Step 1
Cut out the fish, and choose the one in the bottom right and place it in the middle of the scene. Flip it horizontally and rotate it to make it look as if it's jumping out of the icy lake.
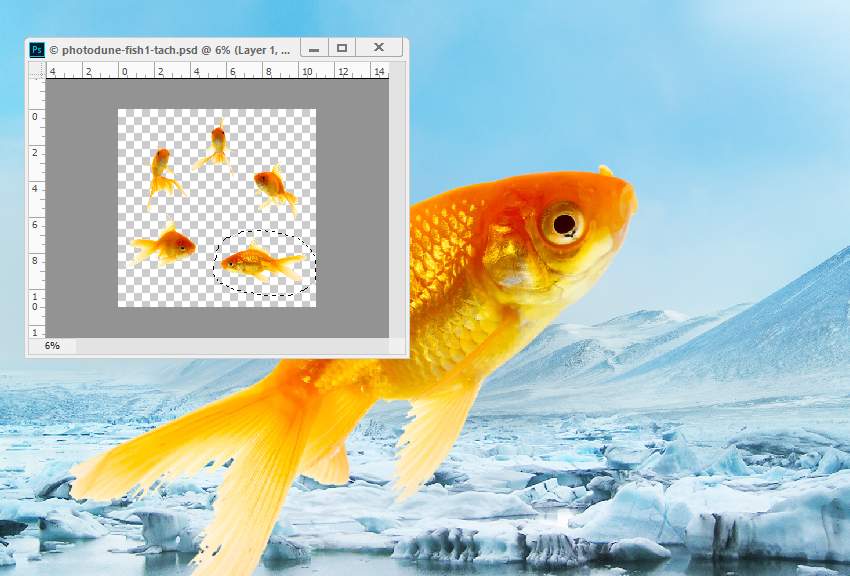
Use a layer mask to remove its tail, the lower body, and the small details on the head, making it blend with the mountains in the background.
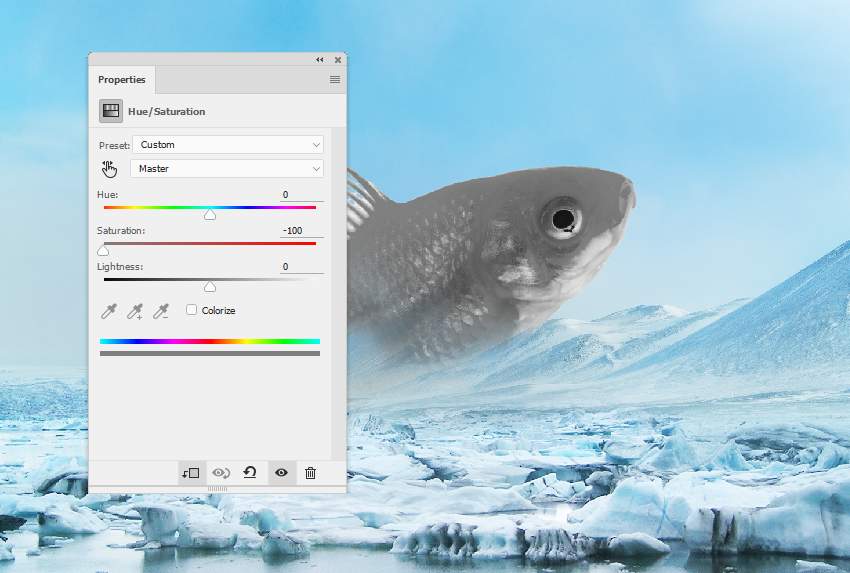
Step 2
Create a Hue/Saturation adjustment layer (set as Clipping Mask) and reduce the Saturation value to the minimum.
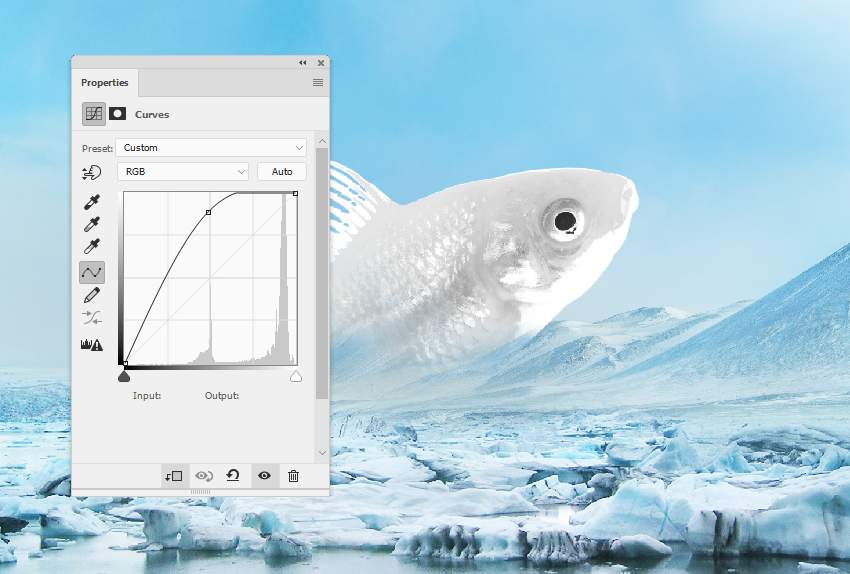
Step 3
Add a Curves adjustment layer to brighten the fish. On the layer mask, use a soft black brush to erase the bottom, leaving the light visible on the upper section.
 ��ǵ���
-
 Photoshop������(f��)���L(f��ng)�������ƬЧ����Ӣ��2018-04-23
-
 Photoshop�ϳ��L(zh��ng)����(chu��ng)����(sh��)���L(zh��ng)�i¹��Ӣ��2018-04-23
-
 Photoshop�ϳɱ�����Ч�Ľ��~(y��)��(ch��ng)����Ӣ��2018-02-10
-
 Photoshop�ϳɉ�(m��ng)���L(f��ng)���ɭ�ֈ�(ch��ng)����Ӣ��2018-02-10
-
 Photoshop�ϳ�����ʩ��������Ӣ��2018-02-10
-
 Photoshop���������|(zh��)�е�3D���w�֡�Ӣ��2018-01-09
-
 Photoshop�O(sh��)Ӌ(j��)����ȼ��ˇ�g(sh��)�ֽ̡̳�Ӣ��2018-01-09
-
Photoshop�ϳ��L(zh��ng)����(chu��ng)����(sh��)���L(zh��ng)�i¹��Ӣ��
���P(gu��n)����13832018-04-23
-
Photoshop�ϳɉ�(m��ng)���L(f��ng)���ɭ�ֈ�(ch��ng)����Ӣ��
���P(gu��n)����24492018-02-10
-
Photoshop�ϳ�����ʩ��������Ӣ��
���P(gu��n)����8372018-02-10
-
 Photoshop�ϳɽk�����а�������ӡ�Ӣ��
���P(gu��n)����7412018-01-05
Photoshop�ϳɽk�����а�������ӡ�Ӣ��
���P(gu��n)����7412018-01-05
-
 Photoshop�ϳɿֲ���Ч���f(w��n)ʥ��(ji��)����Ӣ��
���P(gu��n)����6702018-01-05
Photoshop�ϳɿֲ���Ч���f(w��n)ʥ��(ji��)����Ӣ��
���P(gu��n)����6702018-01-05
-
 Photoshop�ϳɱ���(sh��)����ס��Ů����Ӣ��
���P(gu��n)����7152018-01-05
Photoshop�ϳɱ���(sh��)����ס��Ů����Ӣ��
���P(gu��n)����7152018-01-05
-
 Photoshop�ϳ���������w�е���ʹ��Ӣ��
���P(gu��n)����4622017-12-25
Photoshop�ϳ���������w�е���ʹ��Ӣ��
���P(gu��n)����4622017-12-25
-
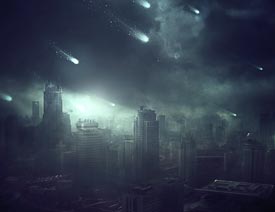 Photoshop�ϳɳ��б����ǹ����(ch��ng)����Ӣ��
���P(gu��n)����7142017-12-12
Photoshop�ϳɳ��б����ǹ����(ch��ng)����Ӣ��
���P(gu��n)����7142017-12-12
