Photoshop�ϳɉ����L���ɭ�ֈ�����Ӣ��(7)
����Դ�� Tutsplus.com�����x���� Jenny Le �o�҂����������ʵ����£�Step 2
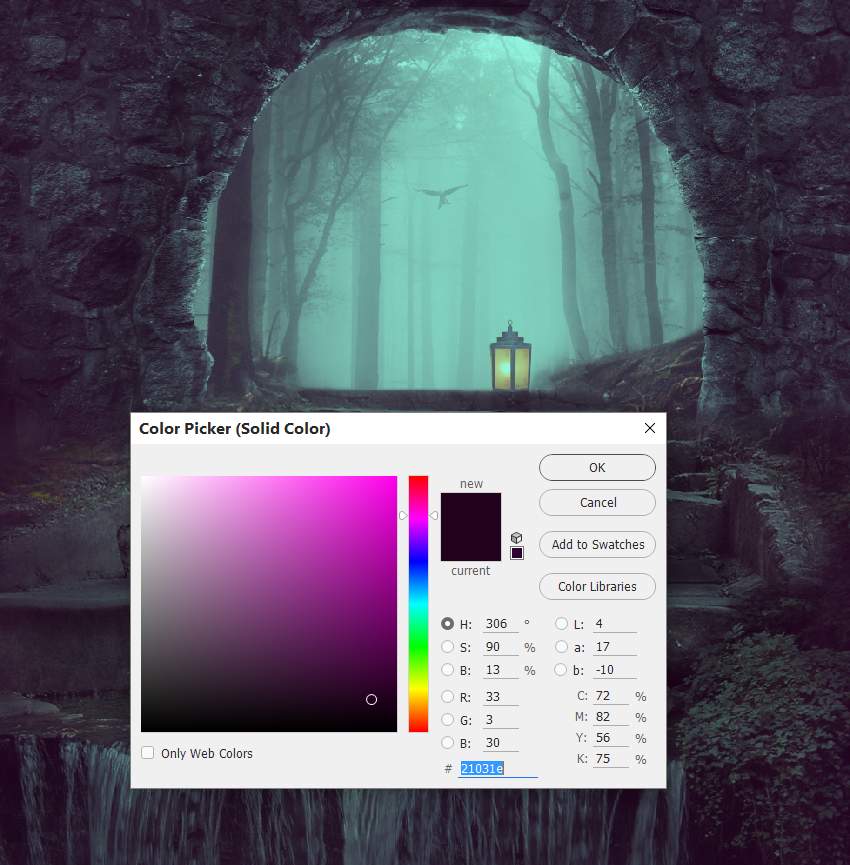
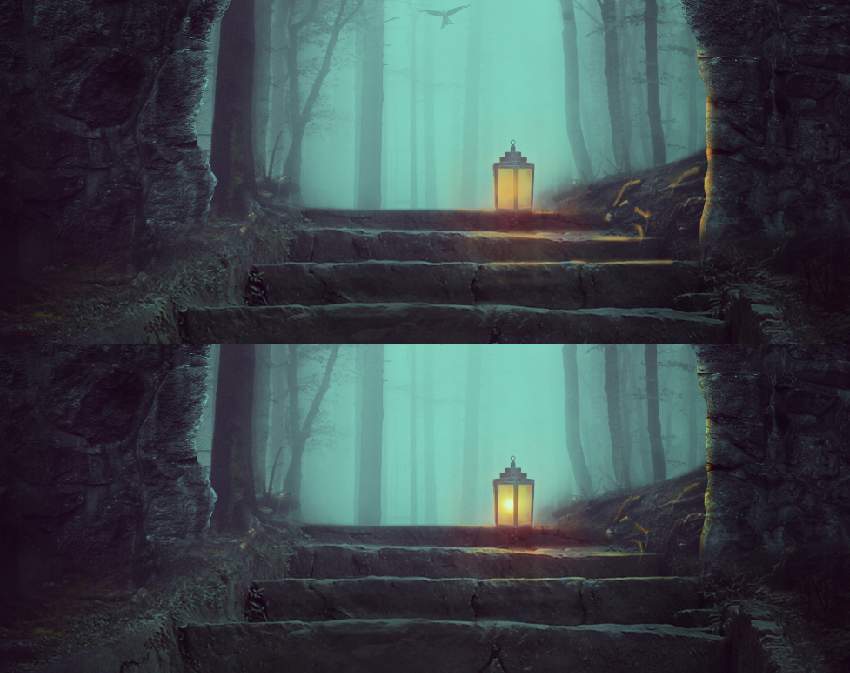
Make a Color Fill layer and pick the color #21031e. Alter this layer mode to Exclusion 100%.
Step 3
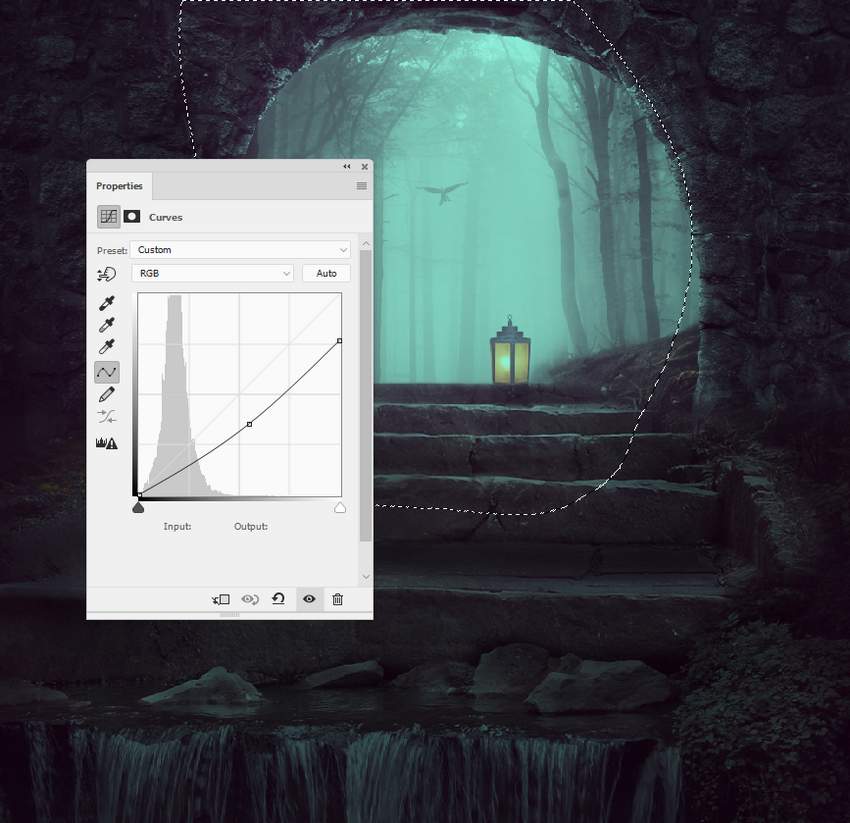
Add a Curves adjustment layer to give the edges and sides a stronger contrast. Paint around the entrance and foggy forest so it won't be darkened by this adjustment layer.
8. How to Paint the Light
Step 1
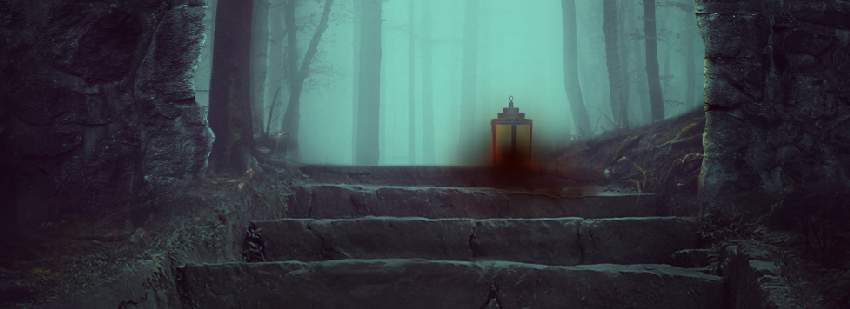
To paint more light for the lamp, create a new layer on top of the layers and use a soft brush with the color #210402 to paint on the lamp and the area around it. Change this layer mode to Linear Dodge 100%.
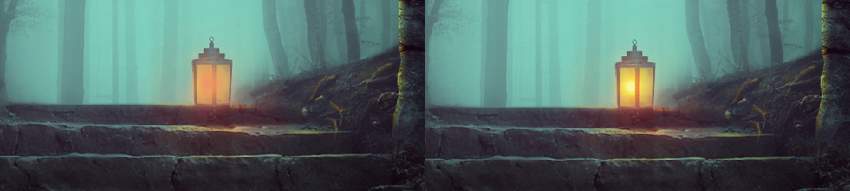
Step 2
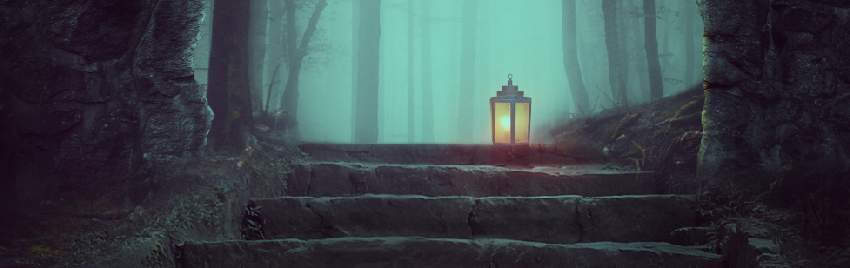
Use a new layer and a soft brush with the color #d7a650 to paint highlights for the lamp, steps, the details on the ground, and the contours of the arch. Alter this layer mode to Overlay 100%.
Advertisement
Step 3
On a new layer, use a soft brush with the color #ee9463 to make the highlight inside the lamp stronger. Set this layer mode to Hard Light 100%.
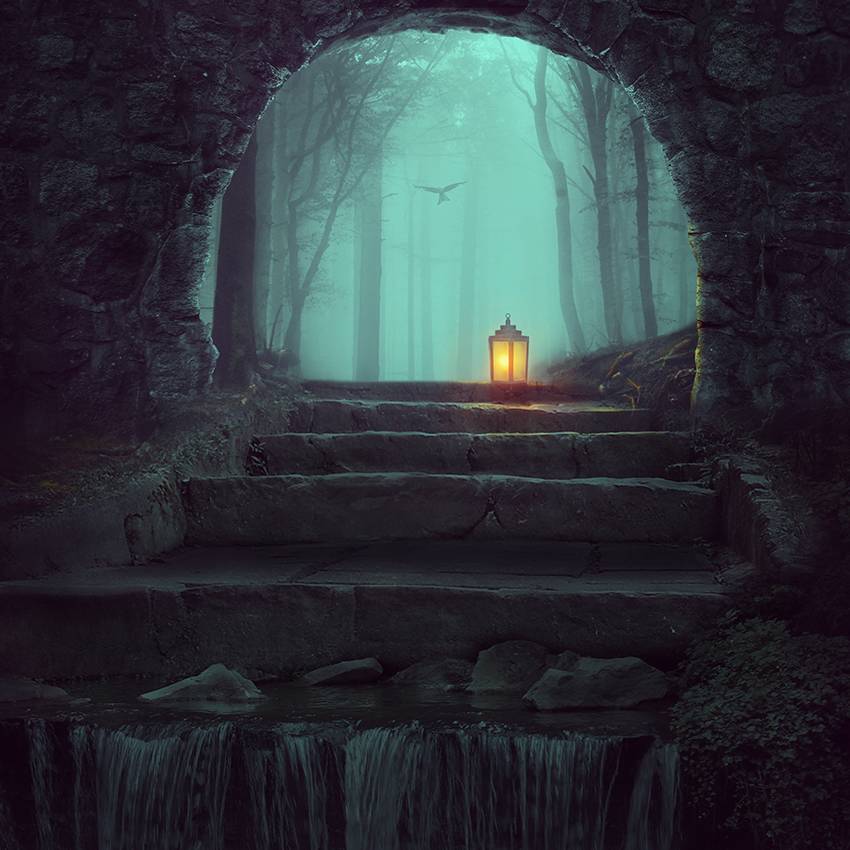
Congratulations, You're Done!
I hope that you've enjoyed the tutorial and learned something new for your own projects. Feel free to share your results or leave comments in the box below. Enjoy Photoshopping!
 ��ǵ���
-
 Photoshop�������L�������ƬЧ����Ӣ��2018-04-23
-
 Photoshop�ϳ��L����������L�i¹��Ӣ��2018-04-23
-
 Photoshop�ϳɱ�����Ч�Ľ��~������Ӣ��2018-02-10
-
 Photoshop�ϳɉ����L���ɭ�ֈ�����Ӣ��2018-02-10
-
 Photoshop�ϳ�����ʩ��������Ӣ��2018-02-10
-
 Photoshop���������|�е�3D���w�֡�Ӣ��2018-01-09
-
 Photoshop�OӋ����ȼ��ˇ�g�ֽ̡̳�Ӣ��2018-01-09
-
Photoshop�������L�������ƬЧ����Ӣ��
���P����11882018-04-23
-
Photoshop�ϳɱ�����Ч�Ľ��~������Ӣ��
���P����34052018-02-10
-
 Photoshop�ϳɳ��б����ǹ��������Ӣ��
���P����7142017-12-12
Photoshop�ϳɳ��б����ǹ��������Ӣ��
���P����7142017-12-12
-
 Photoshop�ϳɄ����Ӣ�ۑ����̡̳�Ӣ��
���P����5802017-12-12
Photoshop�ϳɄ����Ӣ�ۑ����̡̳�Ӣ��
���P����5802017-12-12
