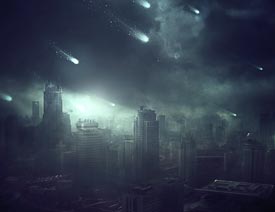
Photoshop�ϳɉ����L���ɭ�ֈ�����Ӣ��(6)
����Դ�� Tutsplus.com�����x���� Jenny Le �o�҂����������ʵ����£�Step 2
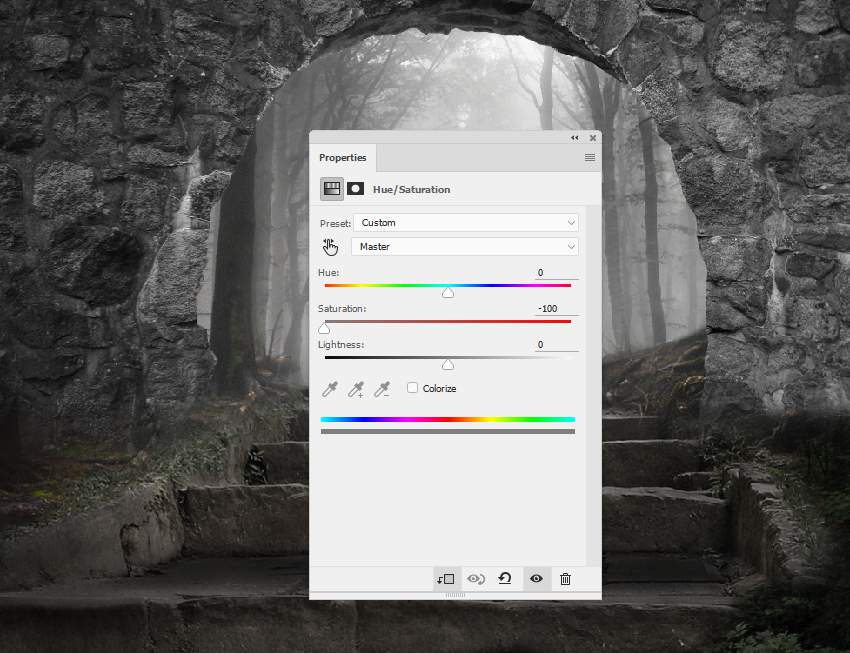
Make a Hue/Saturation and bring the Saturation value down to the minimum.
Step 3
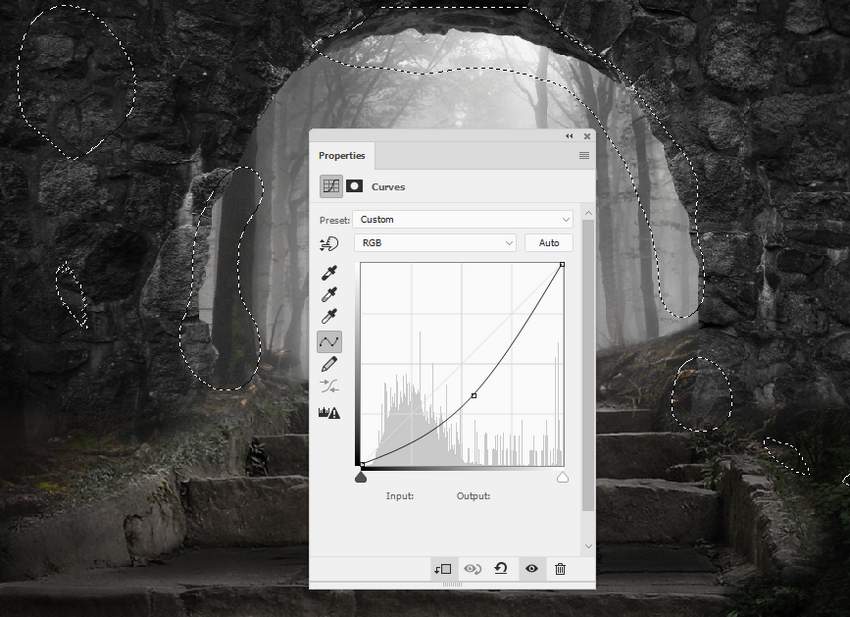
Create a Curves adjustment layer to decrease the light on the arch. On the layer mask, use a soft black brush to erase or reduce the dark effect on the areas which are dark enough.
Step 4
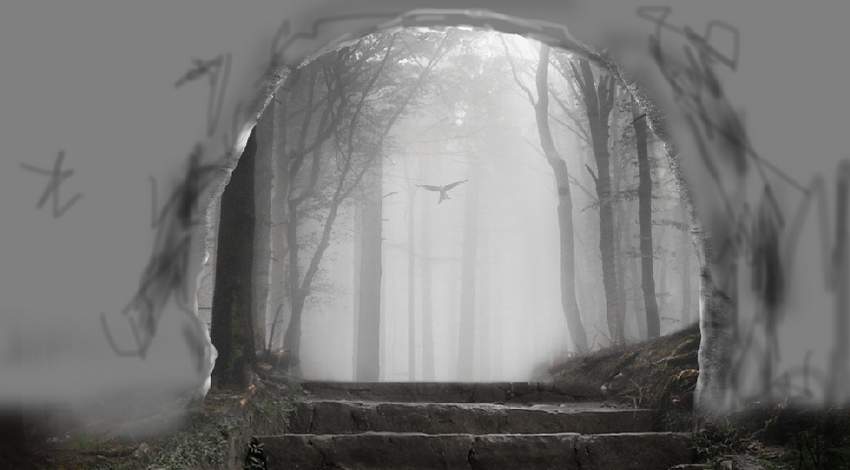
Add another Curves adjustment layer to bring more light to the arch's contour. Paint on the rest so it won't be affected by this adjustment layer.

Step 5
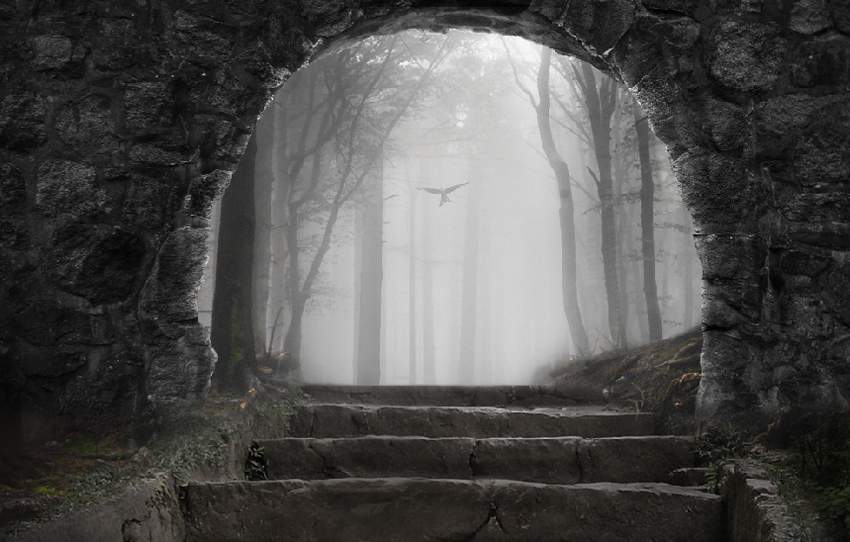
Create a new layer, change the mode to Overlay 100%, and fill with 50% gray. Use the Dodge Tool to paint more light for the contour and the Burn Tool to strengthen the shadow and details within the arch.
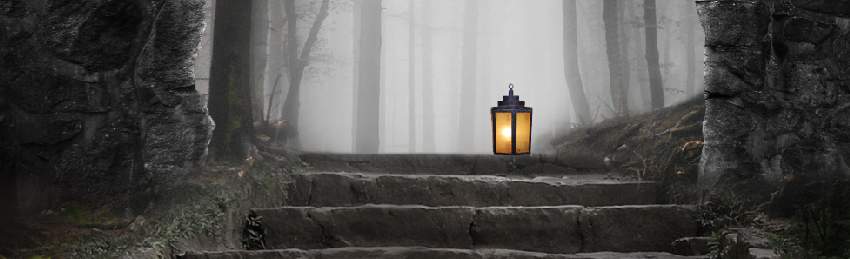
6. How to Add the Lantern
Step 1
Isolate the lantern from the background and place it above the stairs.
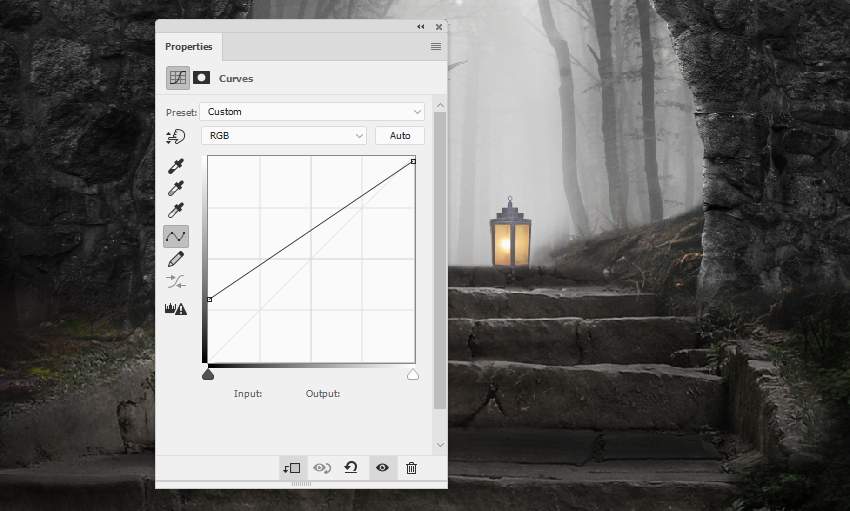
Step 2
The lantern should be hazier to fit the foggy background. Create a Curves adjustment layer and decrease the contrast of the lamp.
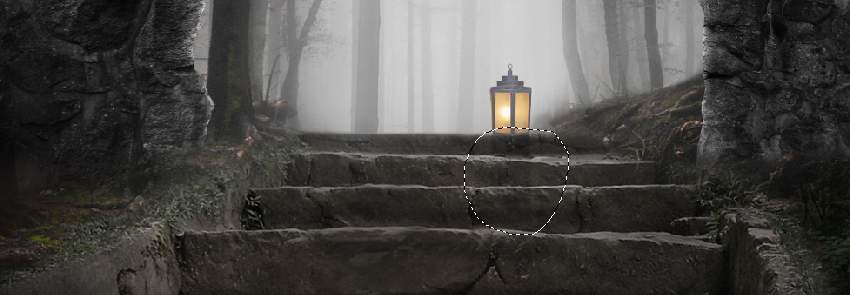
Step 3
Make a new layer below the lamp layer, change the mode to Overlay 100%, and fill with 50% gray (non-Clipping Mask). Use the Burn Tool to paint a shadow for the lamp on the steps.
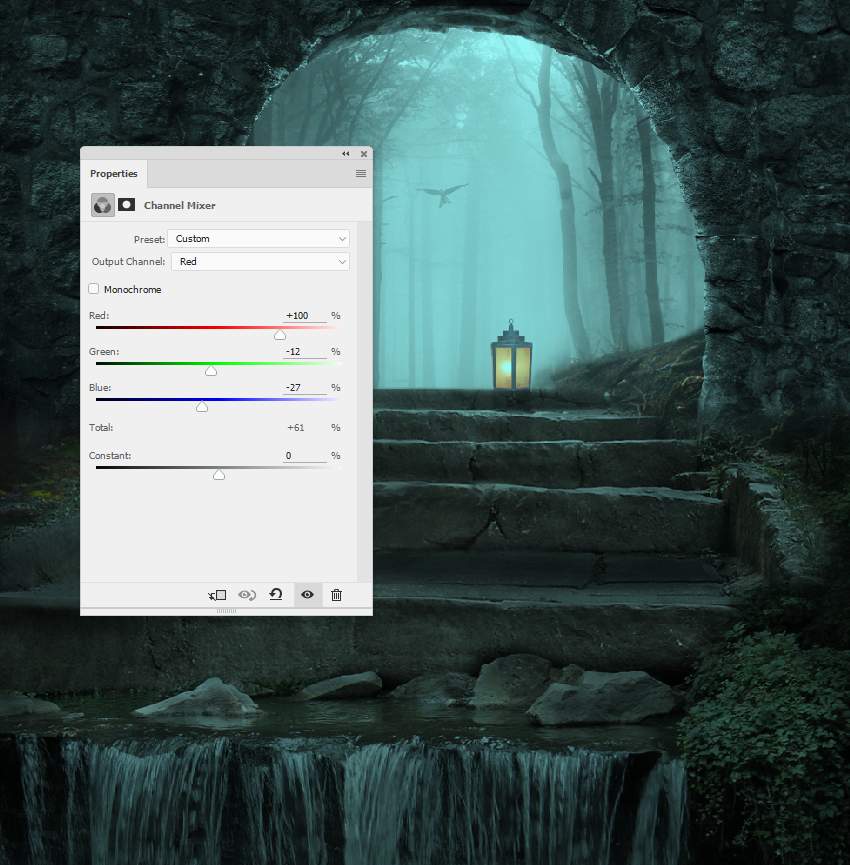
7. How to Do the Basic Adjustments
Step 1
Create a Channel Mixer adjustment layer on top of the layers and change the Red settings:
 ��ǵ���
-
 Photoshop�������L�������ƬЧ����Ӣ��2018-04-23
-
 Photoshop�ϳ��L����������L�i¹��Ӣ��2018-04-23
-
 Photoshop�ϳɱ�����Ч�Ľ��~������Ӣ��2018-02-10
-
 Photoshop�ϳɉ����L���ɭ�ֈ�����Ӣ��2018-02-10
-
 Photoshop�ϳ�����ʩ��������Ӣ��2018-02-10
-
 Photoshop���������|�е�3D���w�֡�Ӣ��2018-01-09
-
 Photoshop�OӋ����ȼ��ˇ�g�ֽ̡̳�Ӣ��2018-01-09
-
Photoshop�������L�������ƬЧ����Ӣ��
���P����11882018-04-23
-
Photoshop�ϳɱ�����Ч�Ľ��~������Ӣ��
���P����34052018-02-10
-
 Photoshop�ϳɳ��б����ǹ��������Ӣ��
���P����7142017-12-12
Photoshop�ϳɳ��б����ǹ��������Ӣ��
���P����7142017-12-12
-
 Photoshop�ϳɄ����Ӣ�ۑ����̡̳�Ӣ��
���P����5802017-12-12
Photoshop�ϳɄ����Ӣ�ۑ����̡̳�Ӣ��
���P����5802017-12-12
