Photoshop�ϳɽk�����а�������ӡ�Ӣ��(6)
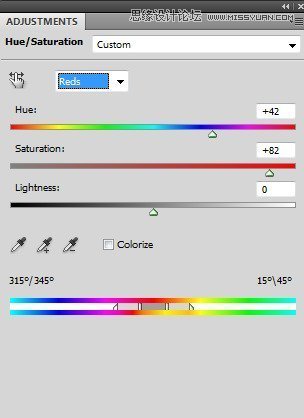
����Դ�� photoshoptutorials�����x���� Jenny Le �o�҂����������ʵ����£�I used Hue/Saturation to turn the color into a bright yellow:

Step 44
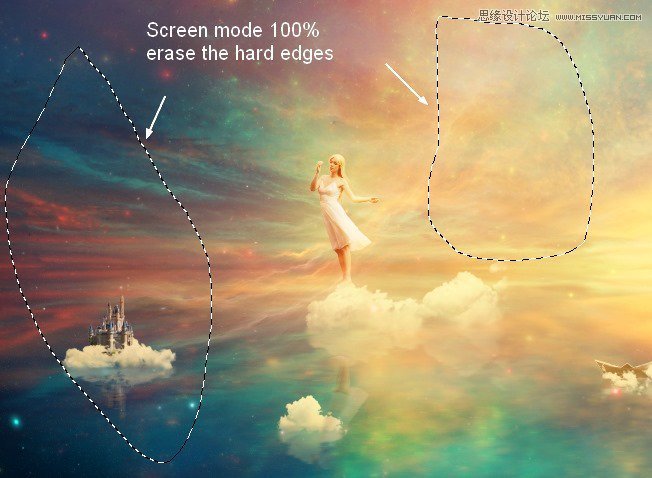
Place the nebula 2 image at the model position. Use the Warp Tool (Edit > Transform > Warp) to bend this image as shown below:

Change the mode to Screen 100% and use layer mask to remove the hard edges:
Step 45
Duplicate this layer and alter the mode to Color Dodge 100%. Here are the results of its layer mask and the picture:

Step 46
Open the light 2 images pack and choose number 38 (feel free to take the one you like). Press Cmd/Ctrl+J to duplicate this layer. Go to Filter > Liquify and choose the Forward Warp Tool with the settings below:
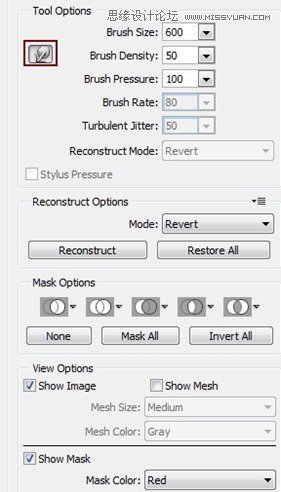
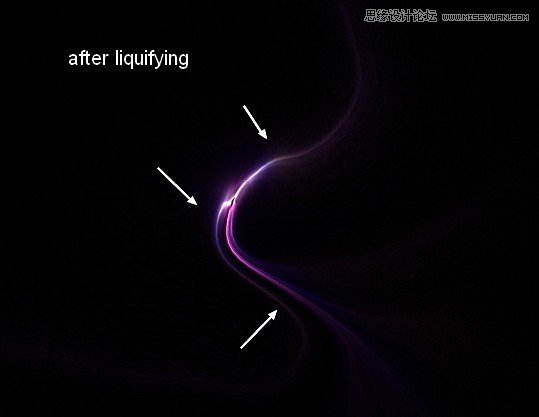
Use this tool to turn the form of this light into a curve:
Step 47
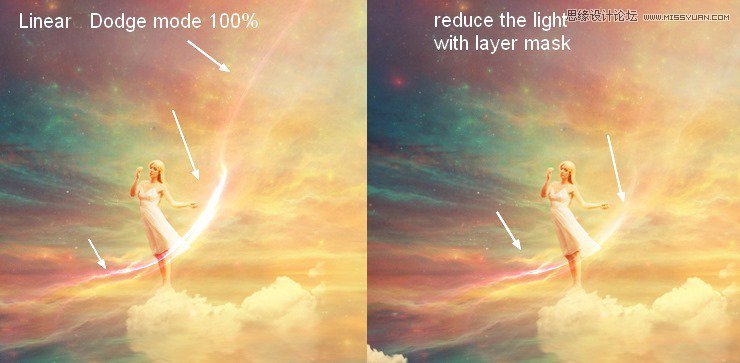
Drag this result onto the model part and bend it a little with the Warp Tool:

Change the mode to Linear Dodge 100% and use layer mask to reduce the light effect:
Step 48
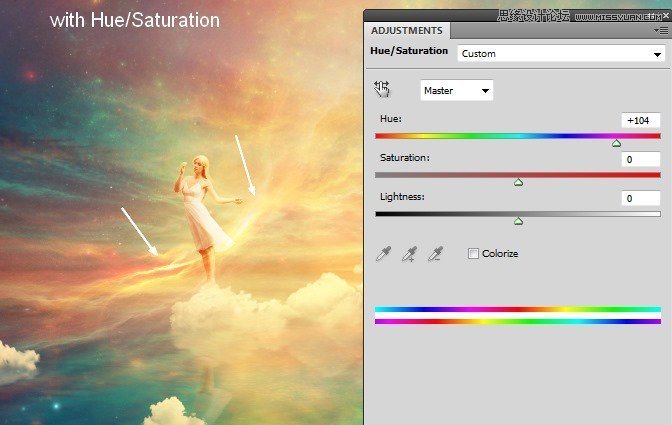
Use Hue/Saturation to change the light color to a bright yellow:
Step 49
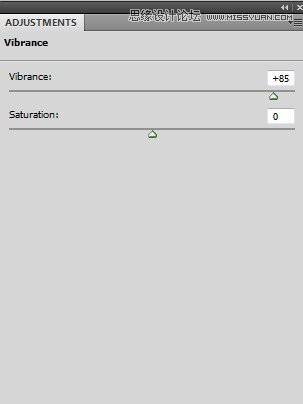
Add a Vibrance adjustment layer to the top of the layers:
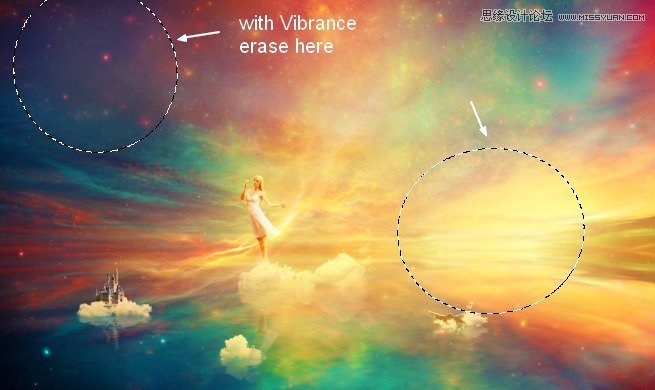
On this adjustment layer mask use a soft brush to reduce the effect on the following parts:
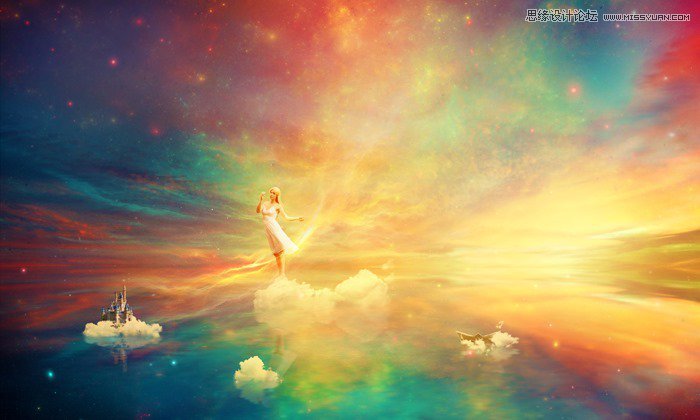
Final Results
 ���㲻Ҫ��
-
 Photoshop�������L�������ƬЧ����Ӣ��2018-04-23
-
 Photoshop�ϳ��L����������L�i¹��Ӣ��2018-04-23
-
 Photoshop�ϳɱ�����Ч�Ľ��~������Ӣ��2018-02-10
-
 Photoshop�ϳɉ����L���ɭ�ֈ�����Ӣ��2018-02-10
-
 Photoshop�ϳ�����ʩ��������Ӣ��2018-02-10
-
 Photoshop���������|�е�3D���w�֡�Ӣ��2018-01-09
-
 Photoshop�OӋ����ȼ��ˇ�g�ֽ̡̳�Ӣ��2018-01-09
-
Photoshop�������L�������ƬЧ����Ӣ��
���P����11882018-04-23
-
Photoshop�ϳ��L����������L�i¹��Ӣ��
���P����13832018-04-23
-
Photoshop�ϳɱ�����Ч�Ľ��~������Ӣ��
���P����34052018-02-10
-
 Photoshop�����S���|�����w�֡�Ӣ��
���P����7422018-02-10
Photoshop�����S���|�����w�֡�Ӣ��
���P����7422018-02-10
-
 Photoshop�����@�G����3D���w��
���P����14682018-02-10
Photoshop�����@�G����3D���w��
���P����14682018-02-10
-
Photoshop�ϳɉ����L���ɭ�ֈ�����Ӣ��
���P����24492018-02-10
-
Photoshop�ϳ�����ʩ��������Ӣ��
���P����8372018-02-10
-
 Photoshop�������p���ع����w
���P����6532018-01-09
Photoshop�������p���ع����w
���P����6532018-01-09
