Photoshop�ϳ��L����������L�i¹��Ӣ��(6)
����Դ�� Tutsplus.com�����x���� Jenny Le �o�҂����������ʵ����£��OӋ�̳�/����̳�/����̳�2018-04-23
Step 4 Create another Gradient Map adjustment layer and pick Copper from the Presets. Change this layer mode to Hard Light 10%. Step 5 Make a Curves adjustment layer and decrease the lightness a bit.
Step 4
Create another Gradient Map adjustment layer and pick Copper from the Presets. Change this layer mode to Hard Light 10%.

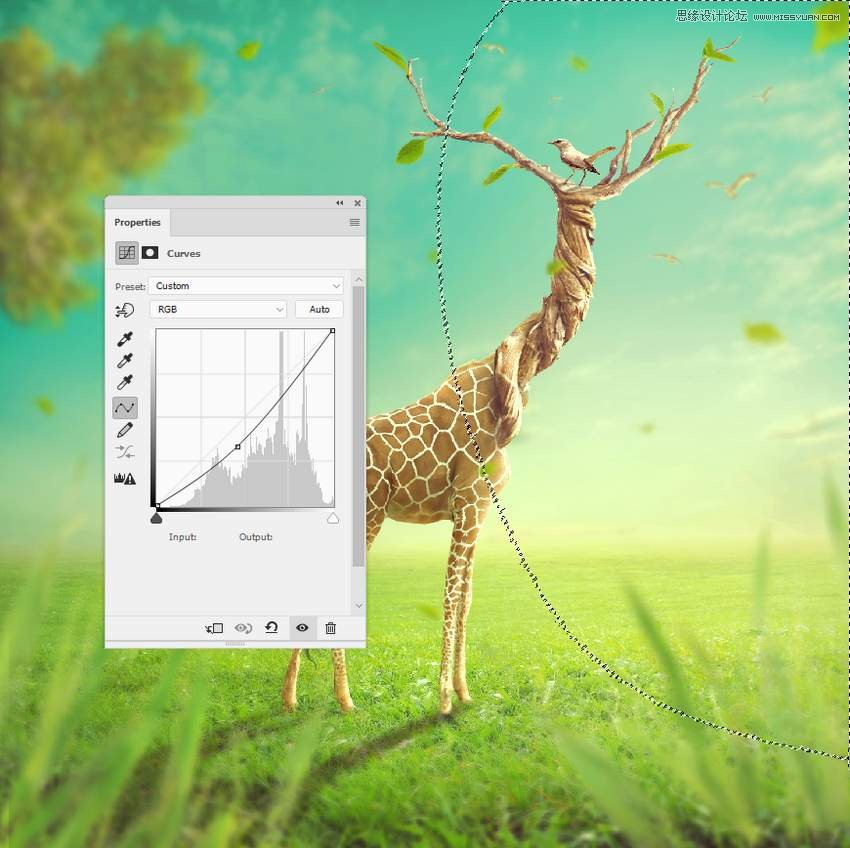
Step 5
Make a Curves adjustment layer and decrease the lightness a bit. Use a soft black brush to erase the right (the main light) so it won't be affected by this adjustment layer.
Advertisement
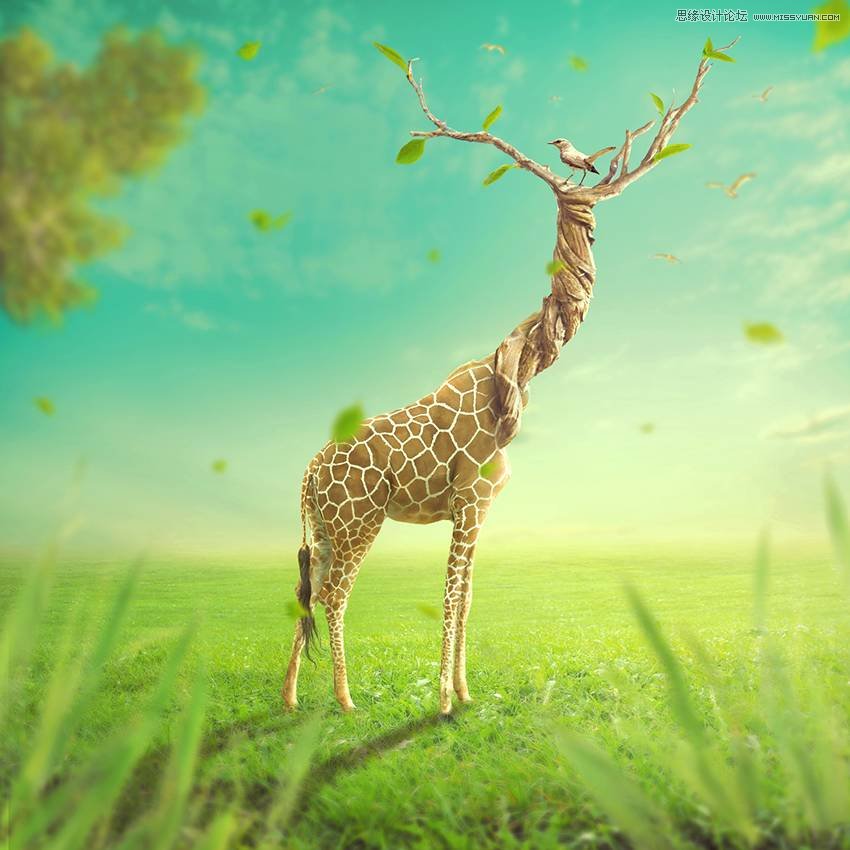
Step 6
Add a Selective Color adjustment layer and alter the Reds values to desaturate the giraffe, neck, and branches a bit.

Congratulations, You're Done!
I hope that you've enjoyed the tutorial and learned something new for your own projects. Feel free to share your results or leave comments in the box below. Enjoy Photoshopping!
 ��ǵ���
���]����
-
 Photoshop�������L�������ƬЧ����Ӣ��2018-04-23
-
 Photoshop�ϳ��L����������L�i¹��Ӣ��2018-04-23
-
 Photoshop�ϳɱ�����Ч�Ľ��~������Ӣ��2018-02-10
-
 Photoshop�ϳɉ����L���ɭ�ֈ�����Ӣ��2018-02-10
-
 Photoshop�ϳ�����ʩ��������Ӣ��2018-02-10
-
 Photoshop���������|�е�3D���w�֡�Ӣ��2018-01-09
-
 Photoshop�OӋ����ȼ��ˇ�g�ֽ̡̳�Ӣ��2018-01-09
���T����
-
Photoshop�������L�������ƬЧ����Ӣ��
���P����11882018-04-23
-
Photoshop�ϳɱ�����Ч�Ľ��~������Ӣ��
���P����34052018-02-10
-
 Photoshop�����S���|�����w�֡�Ӣ��
���P����7422018-02-10
Photoshop�����S���|�����w�֡�Ӣ��
���P����7422018-02-10
-
 Photoshop�����@�G����3D���w��
���P����14682018-02-10
Photoshop�����@�G����3D���w��
���P����14682018-02-10
-
Photoshop�ϳɉ����L���ɭ�ֈ�����Ӣ��
���P����24492018-02-10
-
Photoshop�ϳ�����ʩ��������Ӣ��
���P����8372018-02-10
-
 Photoshop�������p���ع����w
���P����6532018-01-09
Photoshop�������p���ع����w
���P����6532018-01-09
-
 Photoshop����ľ�ذ�LOGO��ӡЧ����Ӣ��
���P����19272018-01-09
Photoshop����ľ�ذ�LOGO��ӡЧ����Ӣ��
���P����19272018-01-09
