Photoshop�ϳ��L(zh��ng)����(chu��ng)����(sh��)���L(zh��ng)�i¹��Ӣ��(5)
����(l��i)Դ�� Tutsplus.com�����x���� Jenny Le �o�҂�����(l��i)��(j��ng)���ʵ����£�Step 4
Make another Curves adjustment layer with the same purpose.

Step 5
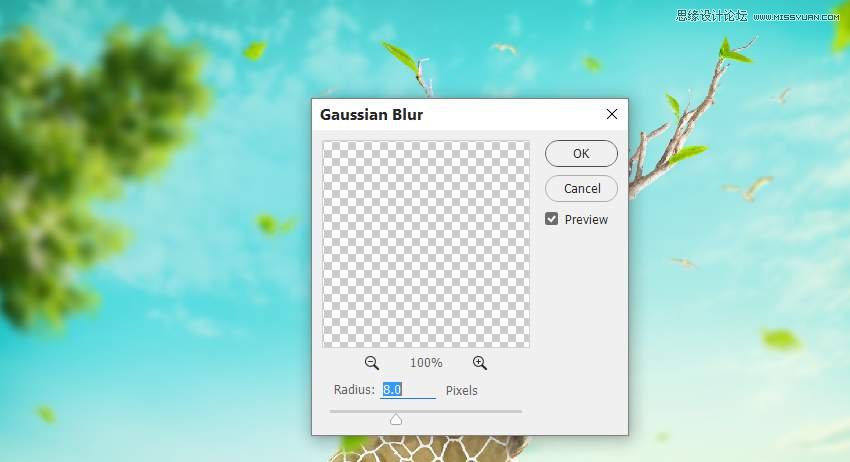
Add the tree 2 image to the top left of the scene and apply a Gaussian Blur of 8 px to this layer.
Step 6
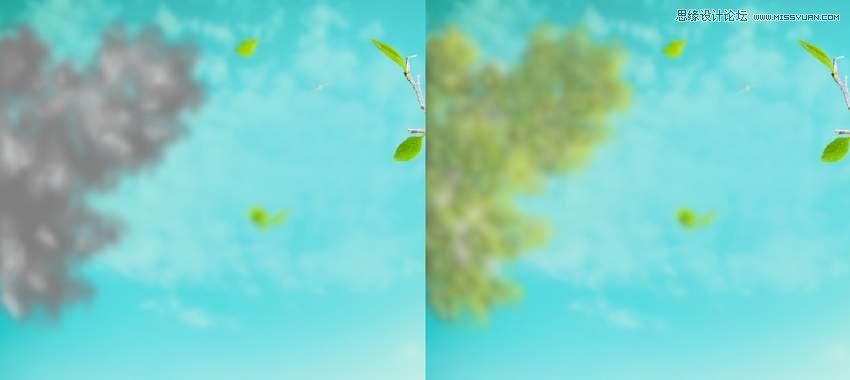
The light of the scene is pretty soft, so use a Curves adjustment layer to reduce the contrast of tree 2.

Step 7
Use the Dodge Tool on a new layer to decrease the shadow areas on tree 2.
Step 8
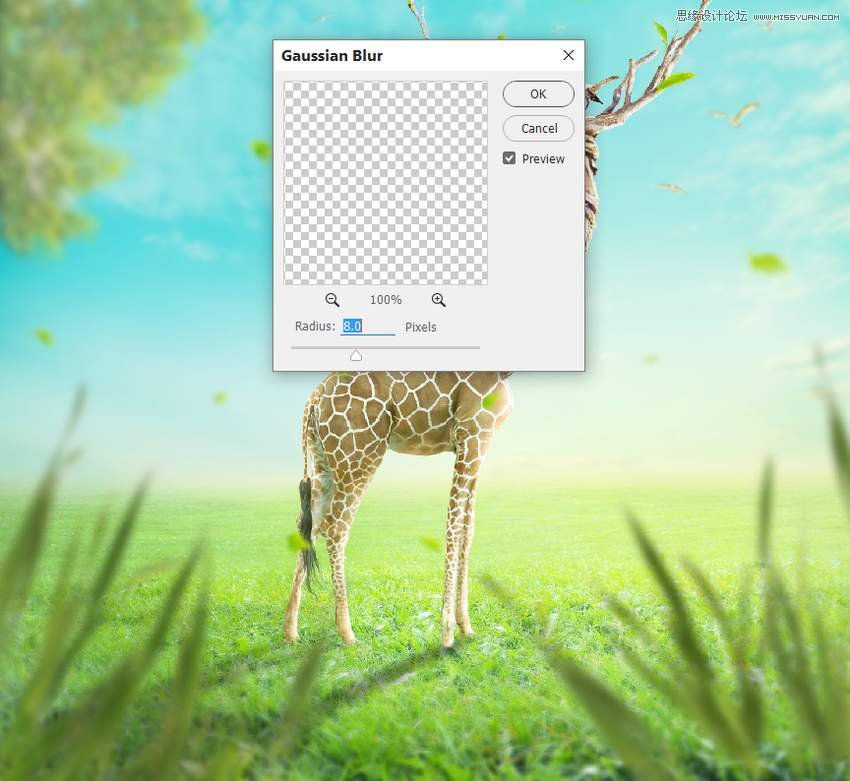
Open the grass image pack. Take different grass blades to add to the foreground of the main scene. You can duplicate, resize, and rotate so they appear different. Apply a Gaussian Blur of 8 px to each of the grass layers.
Step 9
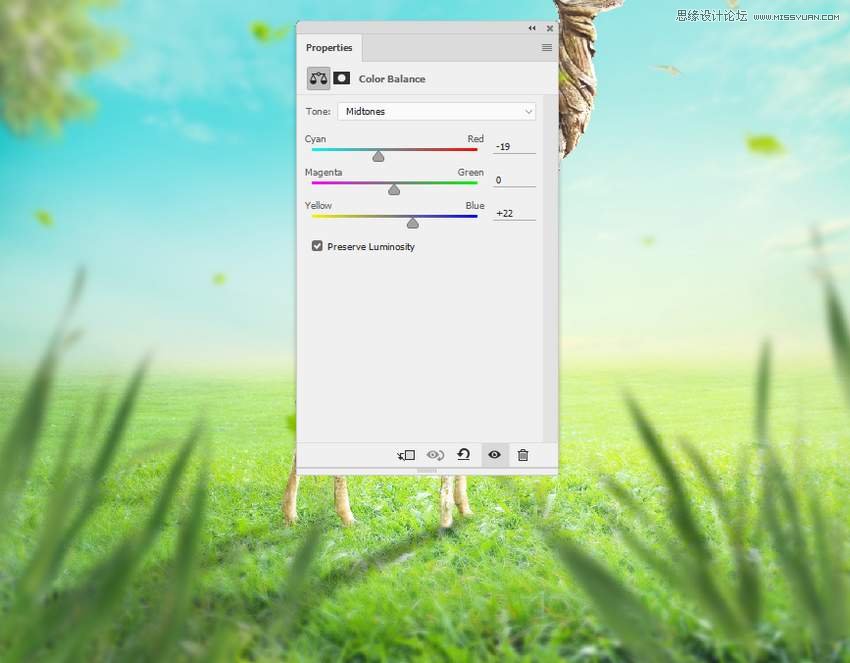
Make a group for the grass layer and add a Color Balance adjustment layer to change the grass's color a bit.
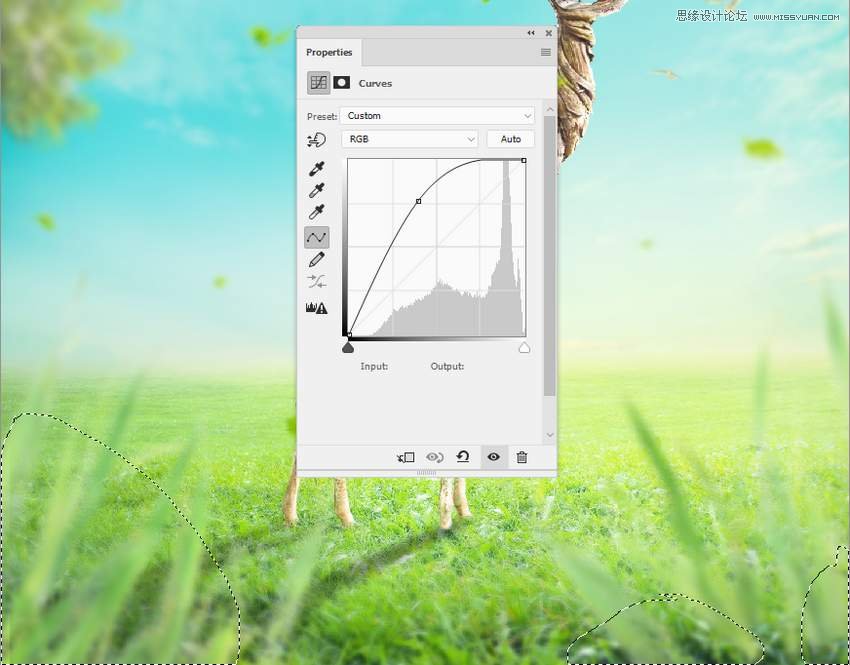
Step 10
Use a Curves adjustment layer to bring more light to the top of the grass's blades.
7. How to Make the Final Adjustments
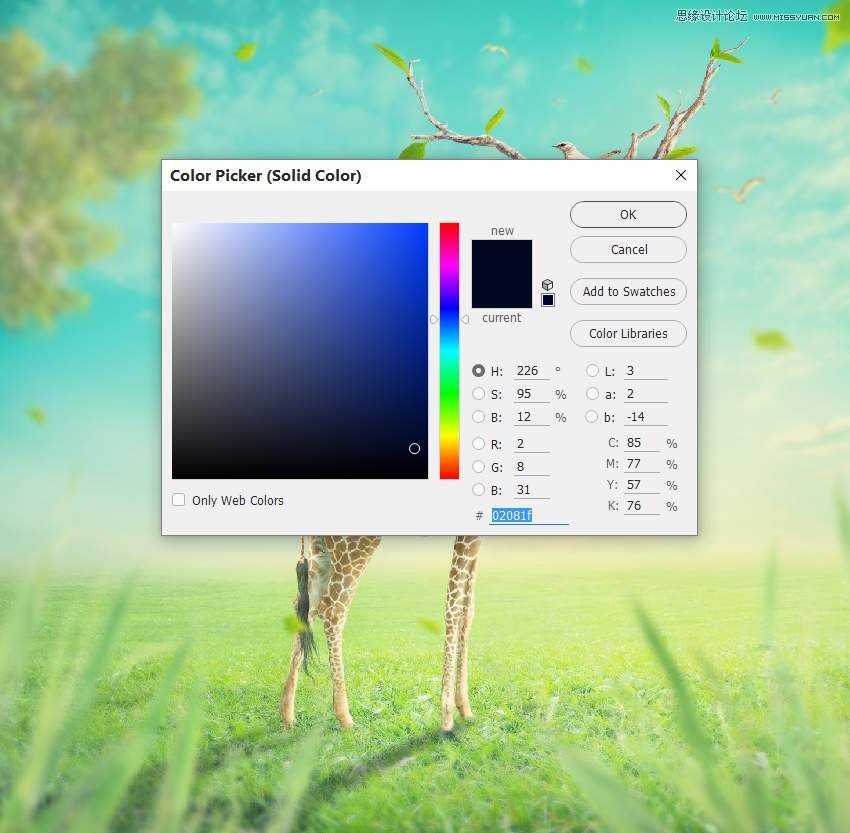
Step 1
Create a Color Fill layer on top of the layers and pick the color #02081f. Change this layer to Exclusion 100%.
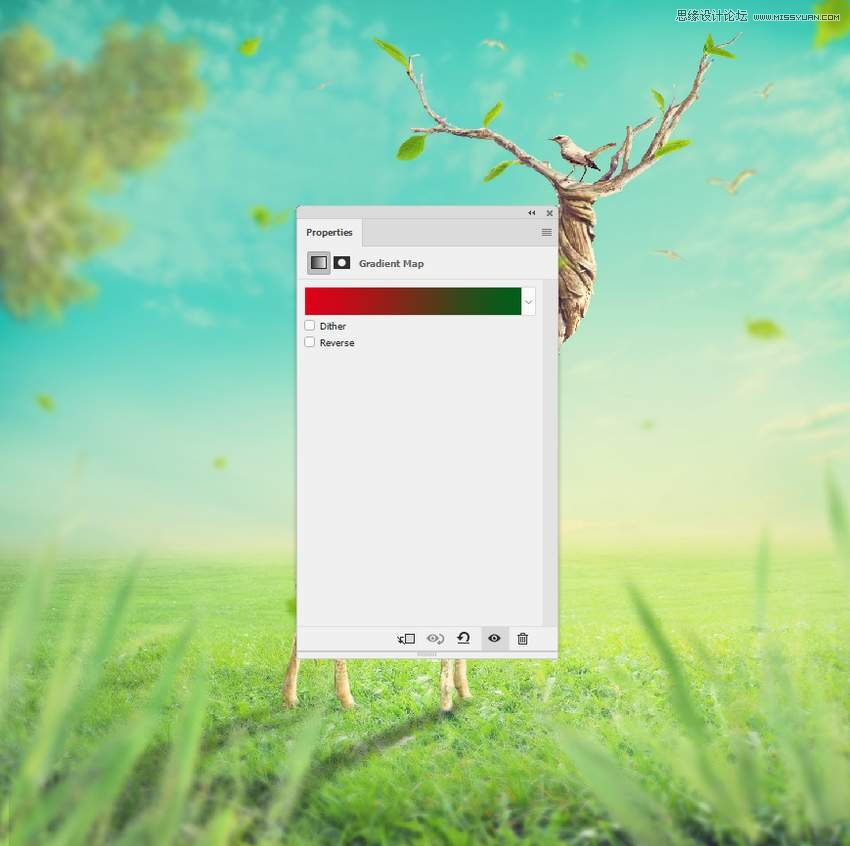
Step 2
Make a Gradient Map adjustment layer and pick the colors #e10019 and #00601b. Alter this layer mode to Soft Light 20%.
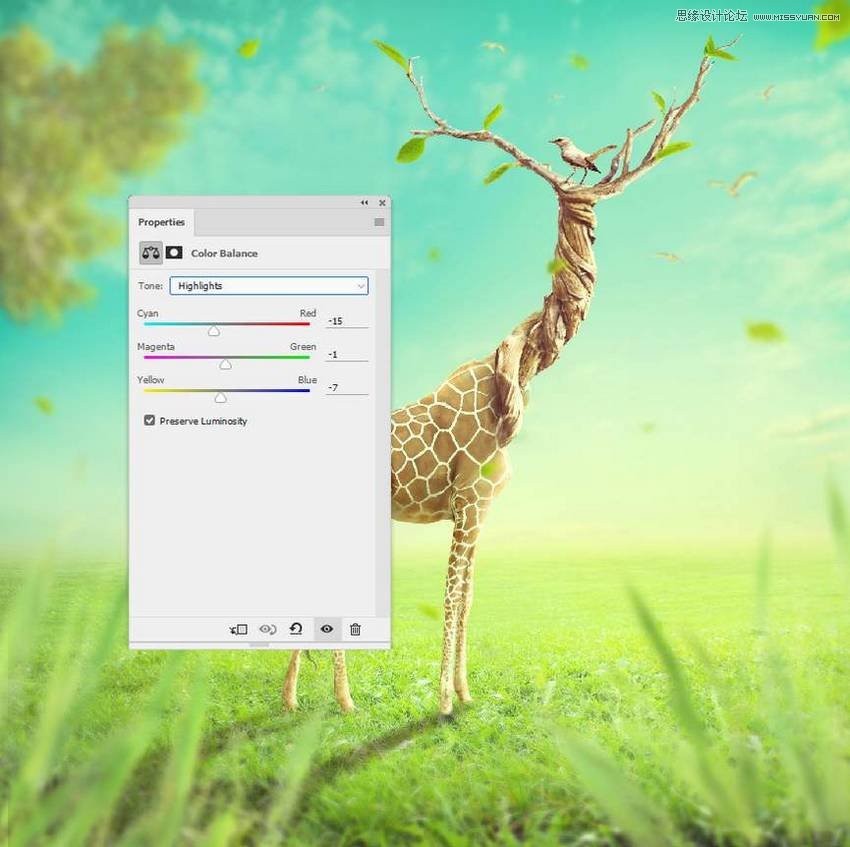
Step 3
Add a Color Balance adjustment layer to give some vibrance to the whole scene.

 ��ǵ���
-
 Photoshop������(f��)���L(f��ng)�������ƬЧ����Ӣ��2018-04-23
-
 Photoshop�ϳ��L(zh��ng)����(chu��ng)����(sh��)���L(zh��ng)�i¹��Ӣ��2018-04-23
-
 Photoshop�ϳɱ�����Ч�Ľ��~(y��)��(ch��ng)����Ӣ��2018-02-10
-
 Photoshop�ϳɉ�(m��ng)���L(f��ng)���ɭ�ֈ�(ch��ng)����Ӣ��2018-02-10
-
 Photoshop�ϳ�����ʩ��������Ӣ��2018-02-10
-
 Photoshop���������|(zh��)�е�3D���w�֡�Ӣ��2018-01-09
-
 Photoshop�O(sh��)Ӌ(j��)����ȼ��ˇ�g(sh��)�ֽ̡̳�Ӣ��2018-01-09
-
Photoshop������(f��)���L(f��ng)�������ƬЧ����Ӣ��
���P(gu��n)����11882018-04-23
-
Photoshop�ϳɱ�����Ч�Ľ��~(y��)��(ch��ng)����Ӣ��
���P(gu��n)����34052018-02-10
-
 Photoshop�����S���|(zh��)�����w�֡�Ӣ��
���P(gu��n)����7422018-02-10
Photoshop�����S���|(zh��)�����w�֡�Ӣ��
���P(gu��n)����7422018-02-10
-
 Photoshop�����@�G����3D���w��
���P(gu��n)����14682018-02-10
Photoshop�����@�G����3D���w��
���P(gu��n)����14682018-02-10
-
Photoshop�ϳɉ�(m��ng)���L(f��ng)���ɭ�ֈ�(ch��ng)����Ӣ��
���P(gu��n)����24492018-02-10
-
Photoshop�ϳ�����ʩ��������Ӣ��
���P(gu��n)����8372018-02-10
-
 Photoshop������(f��)���p���ع����w
���P(gu��n)����6532018-01-09
Photoshop������(f��)���p���ع����w
���P(gu��n)����6532018-01-09
-
 Photoshop����ľ�ذ�LOGO��ӡЧ����Ӣ��
���P(gu��n)����19272018-01-09
Photoshop����ľ�ذ�LOGO��ӡЧ����Ӣ��
���P(gu��n)����19272018-01-09
