Photoshop�����@�G����3D���w��(3)
����Դ�� Tutsplus.com�����x���� Rose �o�҂����������ʵ����£�Step 3
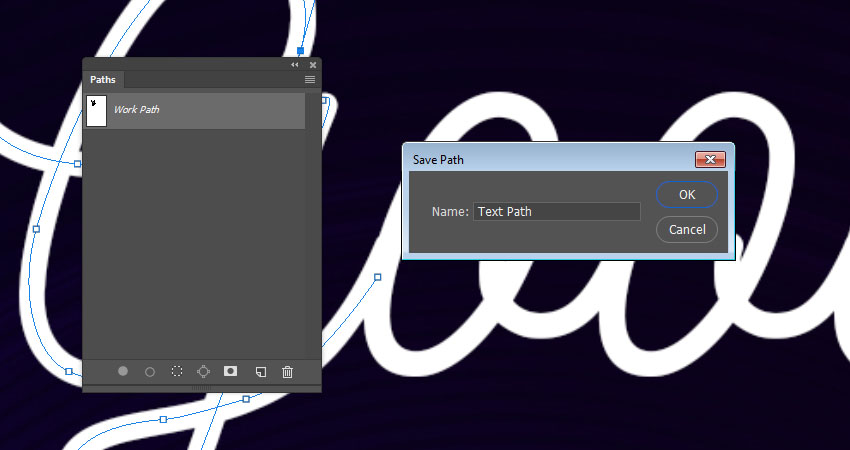
In the Paths panel, double-click the Work Path tab and enter a name for your path to save it.
Step 4
It is better to separate the paths where needed, so that you can edit them easily after stroking them.
Make sure to align the paths so that they fall nicely on top of each other where they are supposed to overlap.

4. How to Adjust the Mixer Brush Tool's Settings
Step 1
Pick the Mixer Brush Tool (click and hold the standard Brush Tool to reveal it), and use these settings in the Options bar:
Click the Load the brush after each stroke icon.
Click the Clean the brush after each stroke icon.
Choose the Dry, Heavy Load preset from the Useful mixer brush combinations list.
Wet: 0%
Load: 100%
Flow: 100%
Stroke Smoothing: 100%
Uncheck the Sample All Layers box.
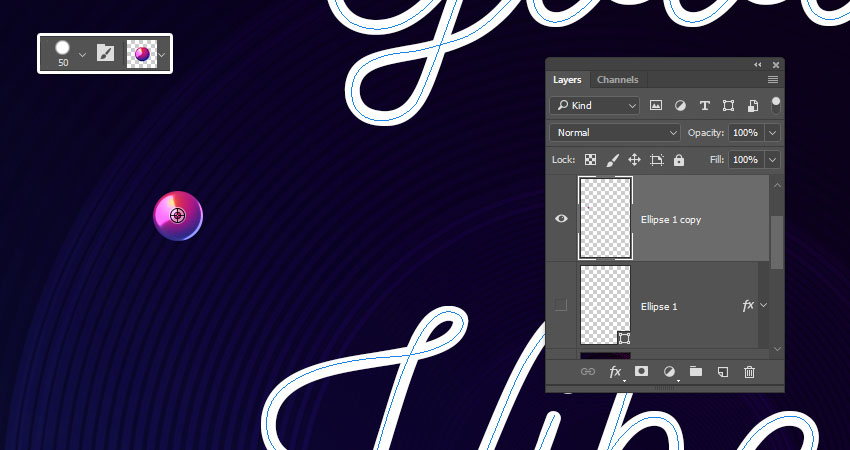
Once you adjust the settings, change the tip's Size to 10 px more than the styled ellipse's Size, so here the brush tip's Size is set to 60 px.

Step 2
Select the styled ellipse's layer, place the cursor in the center of the styled ellipse, press-hold the Optionkey, and click to load the ellipse into the brush tip.
5. How to Stroke a Work Path Using the Mixer Brush Tool
Step 1
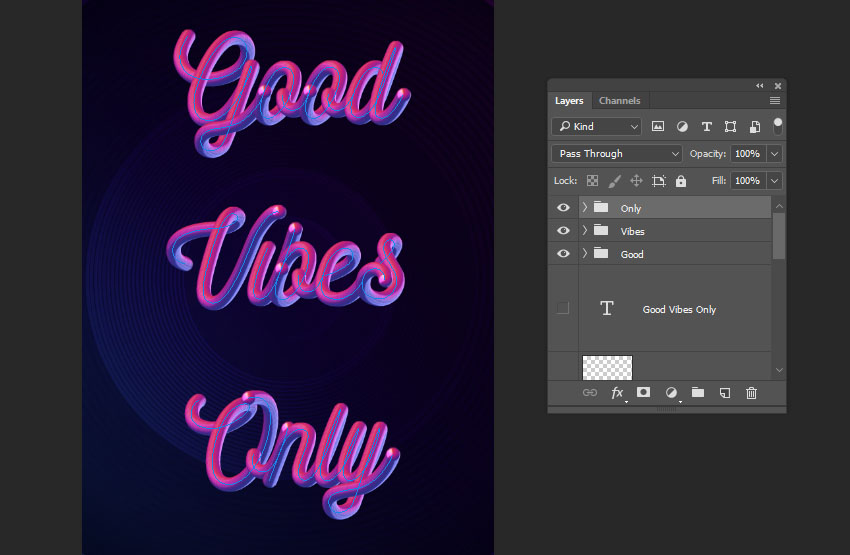
Hide the original text layer and create a new layer on top of it.
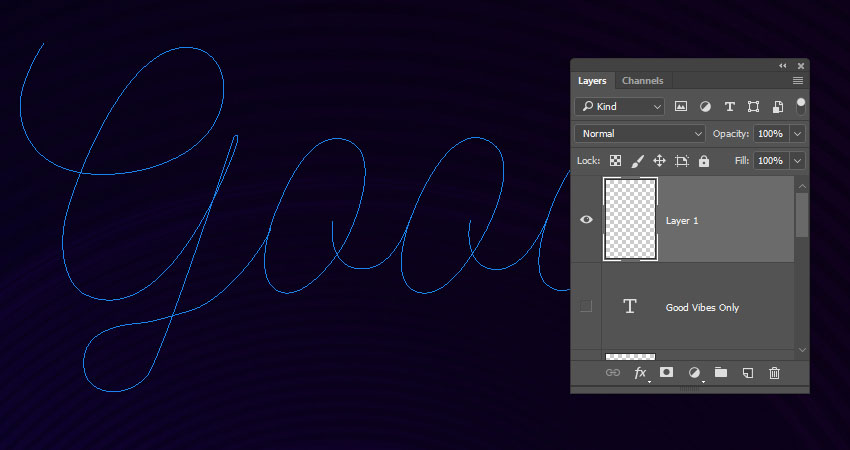
Step 2
Pick the Path Selection Tool, click outside all paths to make sure none of them are selected, and then click the first letter's path you want to stroke.
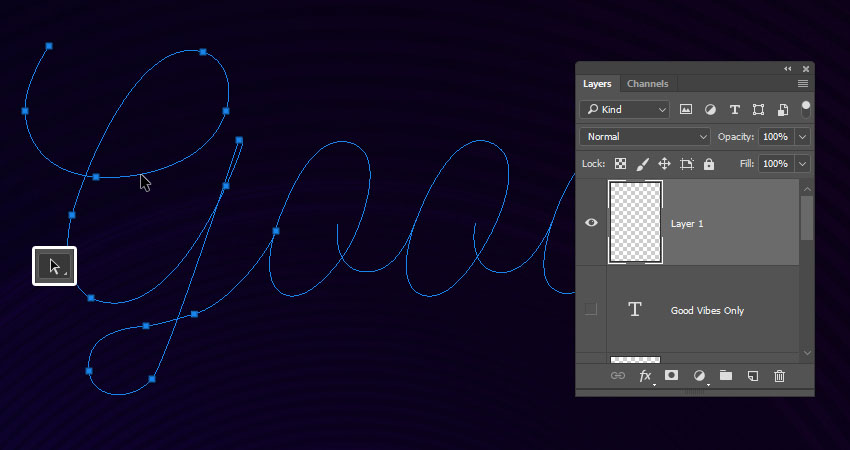
Step 3
Hit the Return key to stroke the path, create a new layer, select the next path, and stroke it on the new layer.

Step 4
Continue selecting the paths and stroking them on separate layers until you're done with the first word.
Place all the word's layers in a group to keep things organized.

Step 5
Finish stroking all the words you have to start adjusting the final effect.
 ��ǵ���
-
 Photoshop�������L�������ƬЧ����Ӣ��2018-04-23
-
 Photoshop�ϳ��L����������L�i¹��Ӣ��2018-04-23
-
 Photoshop�ϳɱ�����Ч�Ľ��~������Ӣ��2018-02-10
-
 Photoshop�ϳɉ����L���ɭ�ֈ�����Ӣ��2018-02-10
-
 Photoshop�ϳ�����ʩ��������Ӣ��2018-02-10
-
 Photoshop���������|�е�3D���w�֡�Ӣ��2018-01-09
-
 Photoshop�OӋ����ȼ��ˇ�g�ֽ̡̳�Ӣ��2018-01-09
-
Photoshop�������L�������ƬЧ����Ӣ��
���P����11882018-04-23
-
 Photoshop�����S���|�����w�֡�Ӣ��
���P����7422018-02-10
Photoshop�����S���|�����w�֡�Ӣ��
���P����7422018-02-10
-
 Photoshop�������p���ع����w
���P����6532018-01-09
Photoshop�������p���ع����w
���P����6532018-01-09
-
 Photoshop����ľ�ذ�LOGO��ӡЧ����Ӣ��
���P����19272018-01-09
Photoshop����ľ�ذ�LOGO��ӡЧ����Ӣ��
���P����19272018-01-09
-
Photoshop���������|�е�3D���w�֡�Ӣ��
���P����4612018-01-09
-
 Photoshop�����Ż���M�ɵ�ˇ�g�֡�Ӣ��
���P����3802018-01-09
Photoshop�����Ż���M�ɵ�ˇ�g�֡�Ӣ��
���P����3802018-01-09
-
 Photoshop�����ɐ۵��ǹ���֡�Ӣ��
���P����6722017-12-25
Photoshop�����ɐ۵��ǹ���֡�Ӣ��
���P����6722017-12-25
-
 Photoshop��������Ү�d��߹ⱳ����Ӣ��
���P����6002017-12-16
Photoshop��������Ү�d��߹ⱳ����Ӣ��
���P����6002017-12-16
