Photoshop�������p���ع����w(3)
����Դ�� Tutsplus.com�����x���� Rose �o�҂����������ʵ����£�Step 3
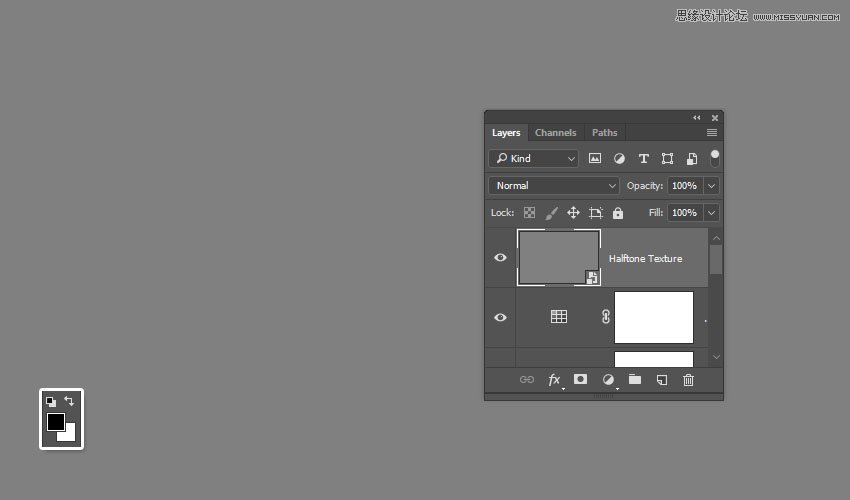
Right-click the Halftone Texture layer and choose Convert to Smart Object, and set the Foreground and Background Colors to Black and White.
Step 4
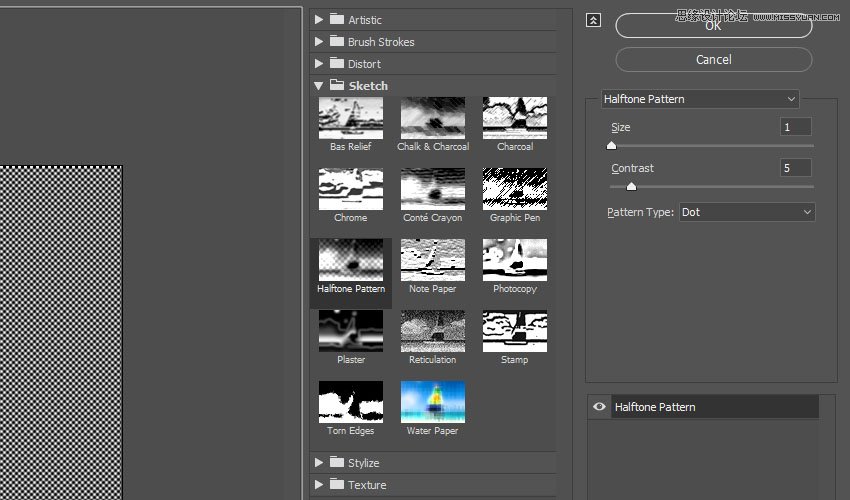
Go to Filter > Filter Gallery > Sketch > Halftone Pattern, and use these settings:
Size: 1
Contrast: 5
Pattern Type: Dot
Advertisement
Step 5
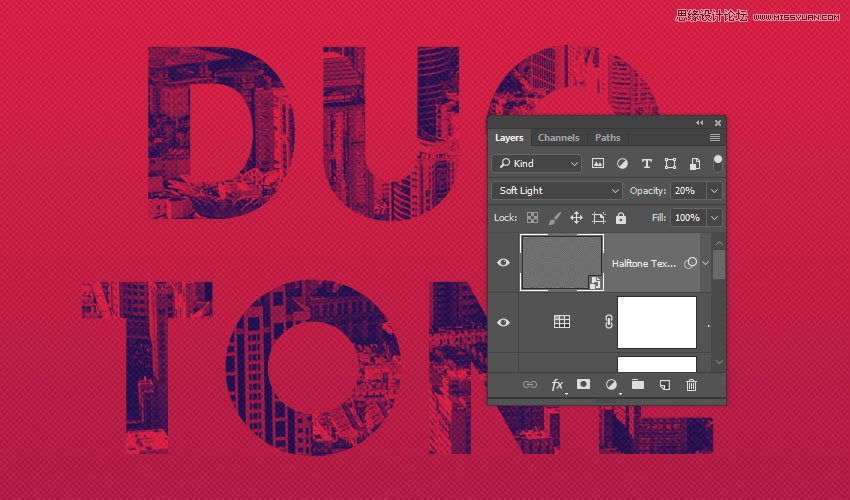
Change the Halftone Texture layer's Blend Mode to Soft Light and its Opacity to 20%.
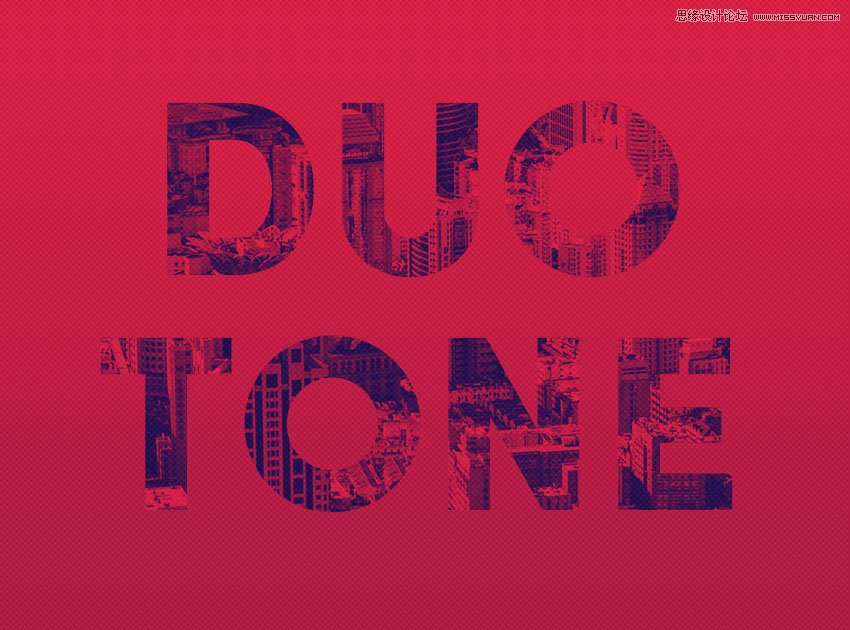
Congratulations, You're Done!
In this tutorial, we created a simple gradient background and added some text.
Then, we clipped an image texture to the text, and created the duotone effect using a gradient map.
Finally, we added some more adjustment layers to enhance the final result, and applied a halftone texture overlay.
Please feel free to leave your comments, suggestions, and outcomes below.
 ���㲻Ҫ��
-
 Photoshop�������L�������ƬЧ����Ӣ��2018-04-23
-
 Photoshop�ϳ��L����������L�i¹��Ӣ��2018-04-23
-
 Photoshop�ϳɱ�����Ч�Ľ��~������Ӣ��2018-02-10
-
 Photoshop�ϳɉ����L���ɭ�ֈ�����Ӣ��2018-02-10
-
 Photoshop�ϳ�����ʩ��������Ӣ��2018-02-10
-
 Photoshop���������|�е�3D���w�֡�Ӣ��2018-01-09
-
 Photoshop�OӋ����ȼ��ˇ�g�ֽ̡̳�Ӣ��2018-01-09
-
 Photoshop����ë����ʥ�Q�����w��Ӣ��
���P����8882017-12-16
Photoshop����ë����ʥ�Q�����w��Ӣ��
���P����8882017-12-16
