Photoshop�����ǹ��b�ʥ�Q�䡾Ӣ��(5)
����Դ�� Tutsplus�����x���� Marko Kožokar �o�҂����������ʵ����£��OӋ�̳�/����̳�/����̳�2017-12-16
Step 11 Go to Layer New Adjustment Layer Levels to create a new levels adjustment layer and name it Overall Brightness. Step 12 Now Double-click on this item thumbnail and in the Properties panel ent
Step 11
Go to Layer > New Adjustment Layer > Levels to create a new levels adjustment layer and name it Overall Brightness.
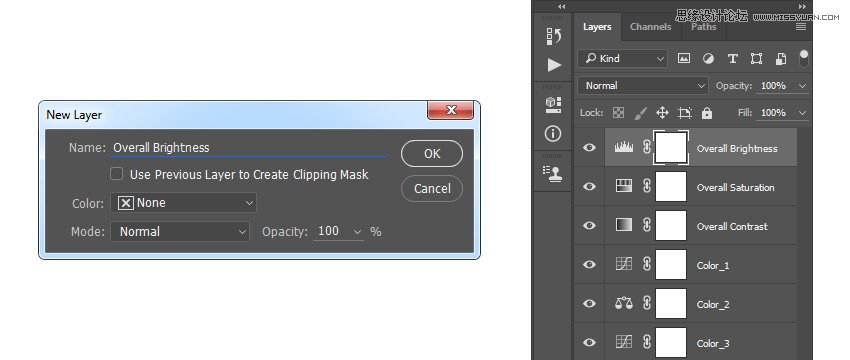
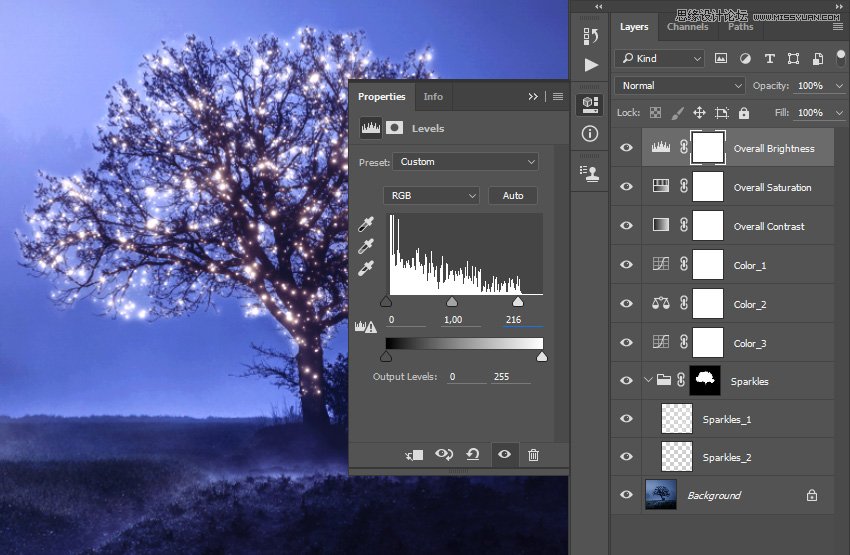
Step 12
Now Double-click on this item thumbnail and in the Properties panel enter the settings below:
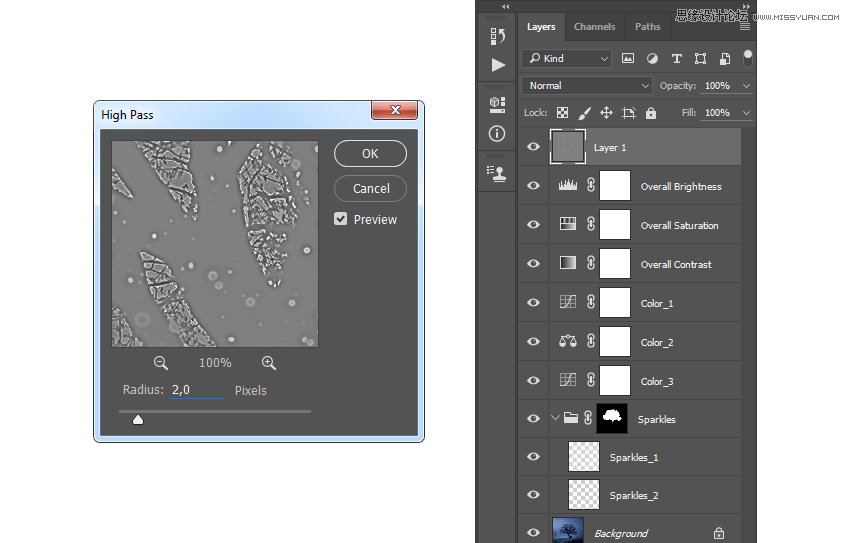
Step 13
Press Control-Alt-Shift-E on your keyboard to make a screenshot and then press Control-Shift-U to desaturate this layer. Then, go to Filter > Other > High Pass and set the Radius to 2 px as shown below:
Advertisement
Step 14
Name this layer Overall Sharpening and change the Blending Mode of this layer to Hard Light.
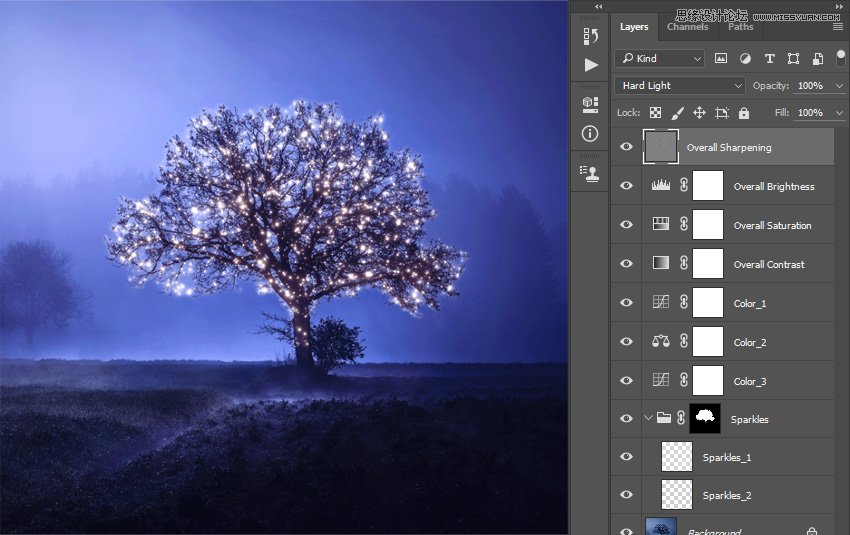
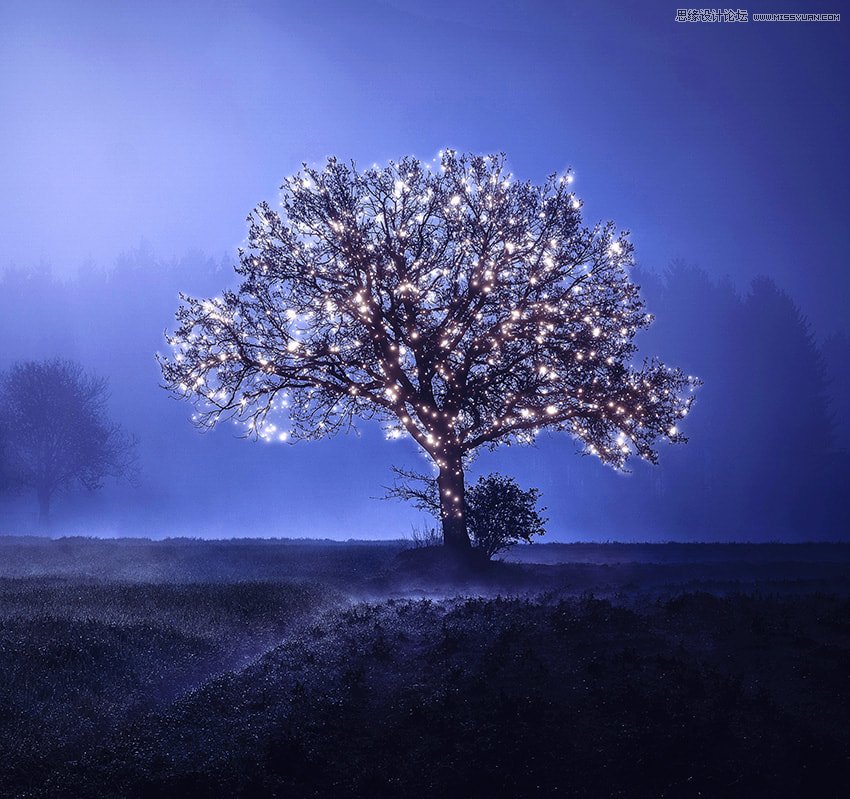
You Made It!
Congratulations, you have succeeded! Here is our final result:
ԭ�ĵ�ַ��https://design.tutsplus.com/tutorials/how-to-add-lights-to-a-tree-with-a-photoshop-action--cms-30086
 ���㲻Ҫ��
���]����
-
 Photoshop�������L�������ƬЧ����Ӣ��2018-04-23
-
 Photoshop�ϳ��L����������L�i¹��Ӣ��2018-04-23
-
 Photoshop�ϳɱ�����Ч�Ľ��~������Ӣ��2018-02-10
-
 Photoshop�ϳɉ����L���ɭ�ֈ�����Ӣ��2018-02-10
-
 Photoshop�ϳ�����ʩ��������Ӣ��2018-02-10
-
 Photoshop���������|�е�3D���w�֡�Ӣ��2018-01-09
-
 Photoshop�OӋ����ȼ��ˇ�g�ֽ̡̳�Ӣ��2018-01-09
���T����
-
 Photoshop����ë����ʥ�Q�����w��Ӣ��
���P����8882017-12-16
Photoshop����ë����ʥ�Q�����w��Ӣ��
���P����8882017-12-16
