Photoshop�ϳɳ��б����ǹ��������Ӣ��(6)
����Դ�� Photoshoptutorials�����x���� Jarka Hrnč��rko �o�҂����������ʵ����£�Step 19 – Bluer Tones II
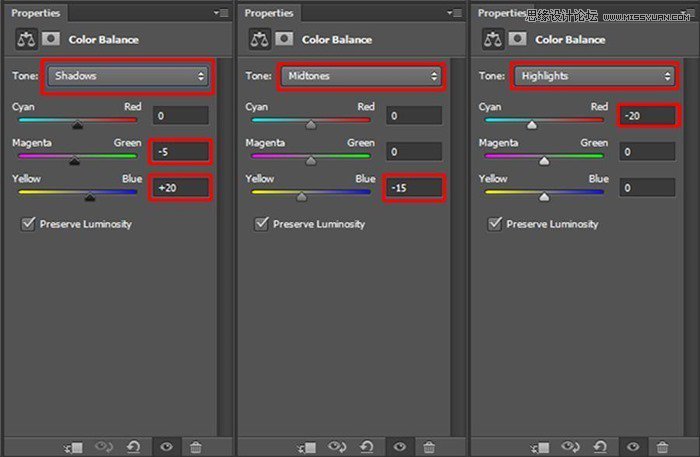
To add even more blue tones add new adjustment layer Color Balance and set the values as on the following picture:
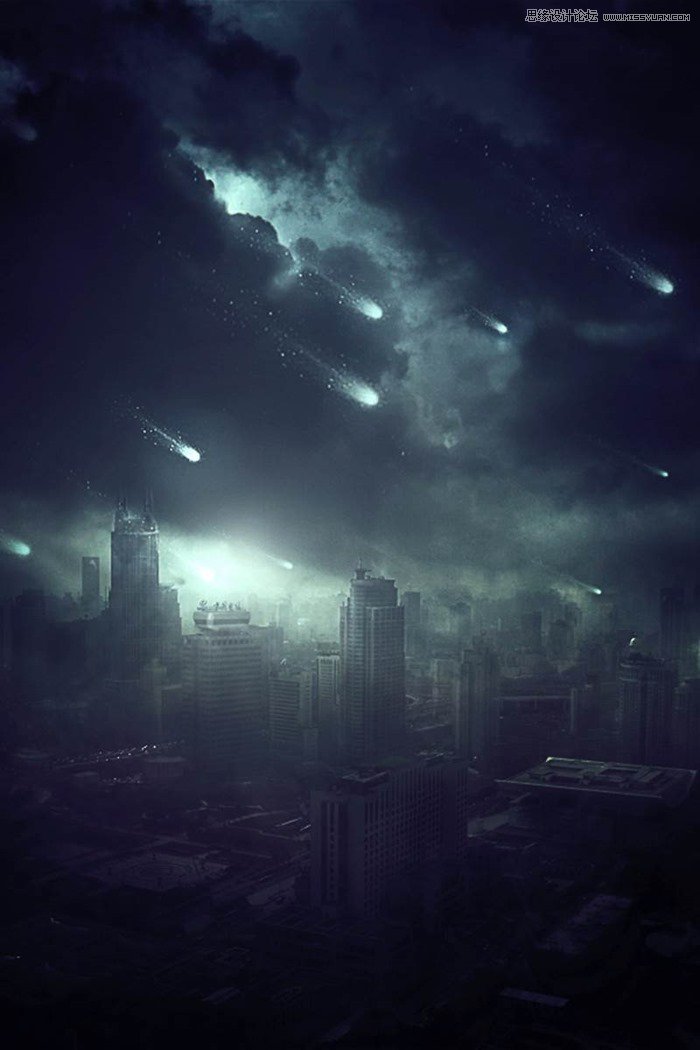
On the following image you can compare how the photo manipulation looks before and after the adjustment.
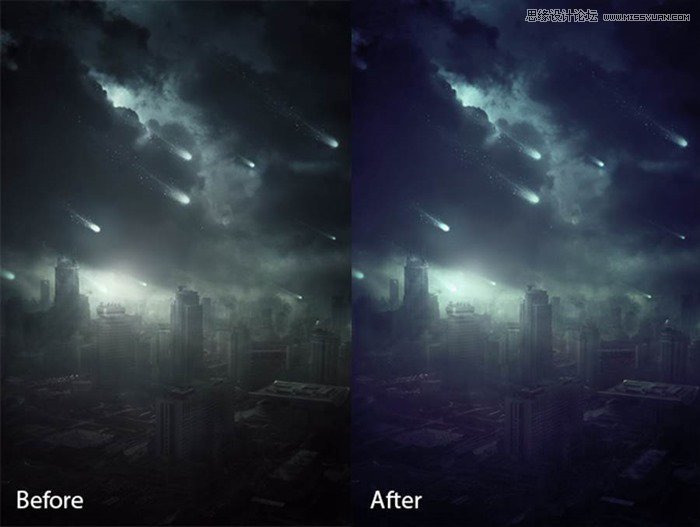
Thanks to the more vibrant colors the photo manipulation is more eye catching, isn’t it?
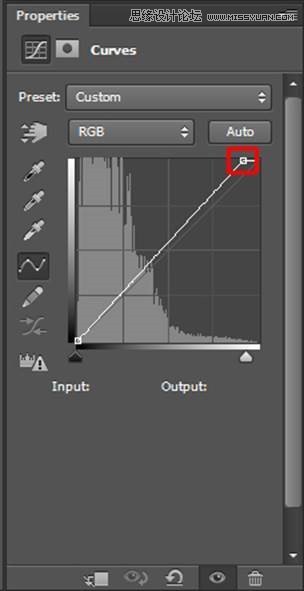
Step 20 – Increasing Contrast
According to me the photo manipulation would look more interesting if there is more contrast. To increase it you use two adjustment layers in this step – Gradient Map and Curves. Let’s start with Curves. You use this adjustment layer to to make lights lighter. Add new adjustment layer Curves on the top of all layers and set the curve as on the following picture.
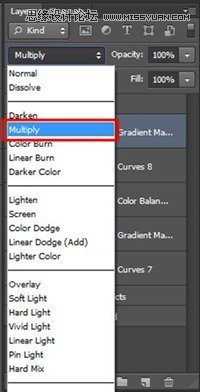
To make shadows darker add new adjustment layer Gradient Map on the top of all layers and set it as on the following picture.
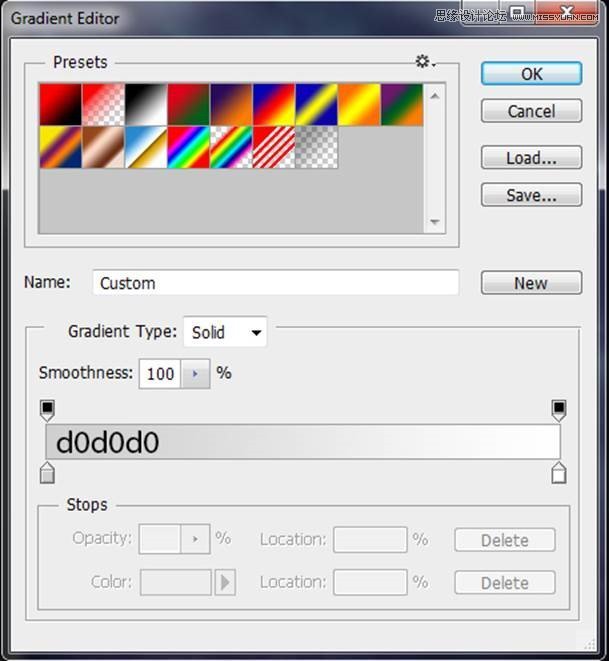
To blend this adjustment layer properly with the rest of the image change its Blending Mode from Normal to Multiply.
Step 21 – Sharpening
To create an illusion of more details you’ll gently sharpen your photo manipulation in this step. Press Ctrl+A on your keyboard to select the whole image. Then go to Edit > Copy Merged (or press Ctrl + Shift + C) to copy merged image. Paste it by pressing Ctrl+V. Place this new layer on the top of all layers and name it SHARPENING. Go to Filter > Other > High Pass and set the value Radius on about 1,7 pixels. Press OK.
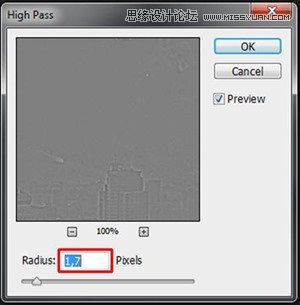
To blend this layer with the rest of the photo manipulation change its Blending Mode from Normal to Overlay.

Final Results
 ���㲻Ҫ��
-
 Photoshop�������L�������ƬЧ����Ӣ��2018-04-23
-
 Photoshop�ϳ��L����������L�i¹��Ӣ��2018-04-23
-
 Photoshop�ϳɱ�����Ч�Ľ��~������Ӣ��2018-02-10
-
 Photoshop�ϳɉ����L���ɭ�ֈ�����Ӣ��2018-02-10
-
 Photoshop�ϳ�����ʩ��������Ӣ��2018-02-10
-
 Photoshop���������|�е�3D���w�֡�Ӣ��2018-01-09
-
 Photoshop�OӋ����ȼ��ˇ�g�ֽ̡̳�Ӣ��2018-01-09
-
Photoshop�ϳɱ�����Ч�Ľ��~������Ӣ��
���P����34052018-02-10
-
Photoshop�ϳɉ����L���ɭ�ֈ�����Ӣ��
���P����24492018-02-10
-
 Photoshop�ϳɄ����Ӣ�ۑ����̡̳�Ӣ��
���P����5802017-12-12
Photoshop�ϳɄ����Ӣ�ۑ����̡̳�Ӣ��
���P����5802017-12-12
